29.10.2020 - Bluetooth Speaker
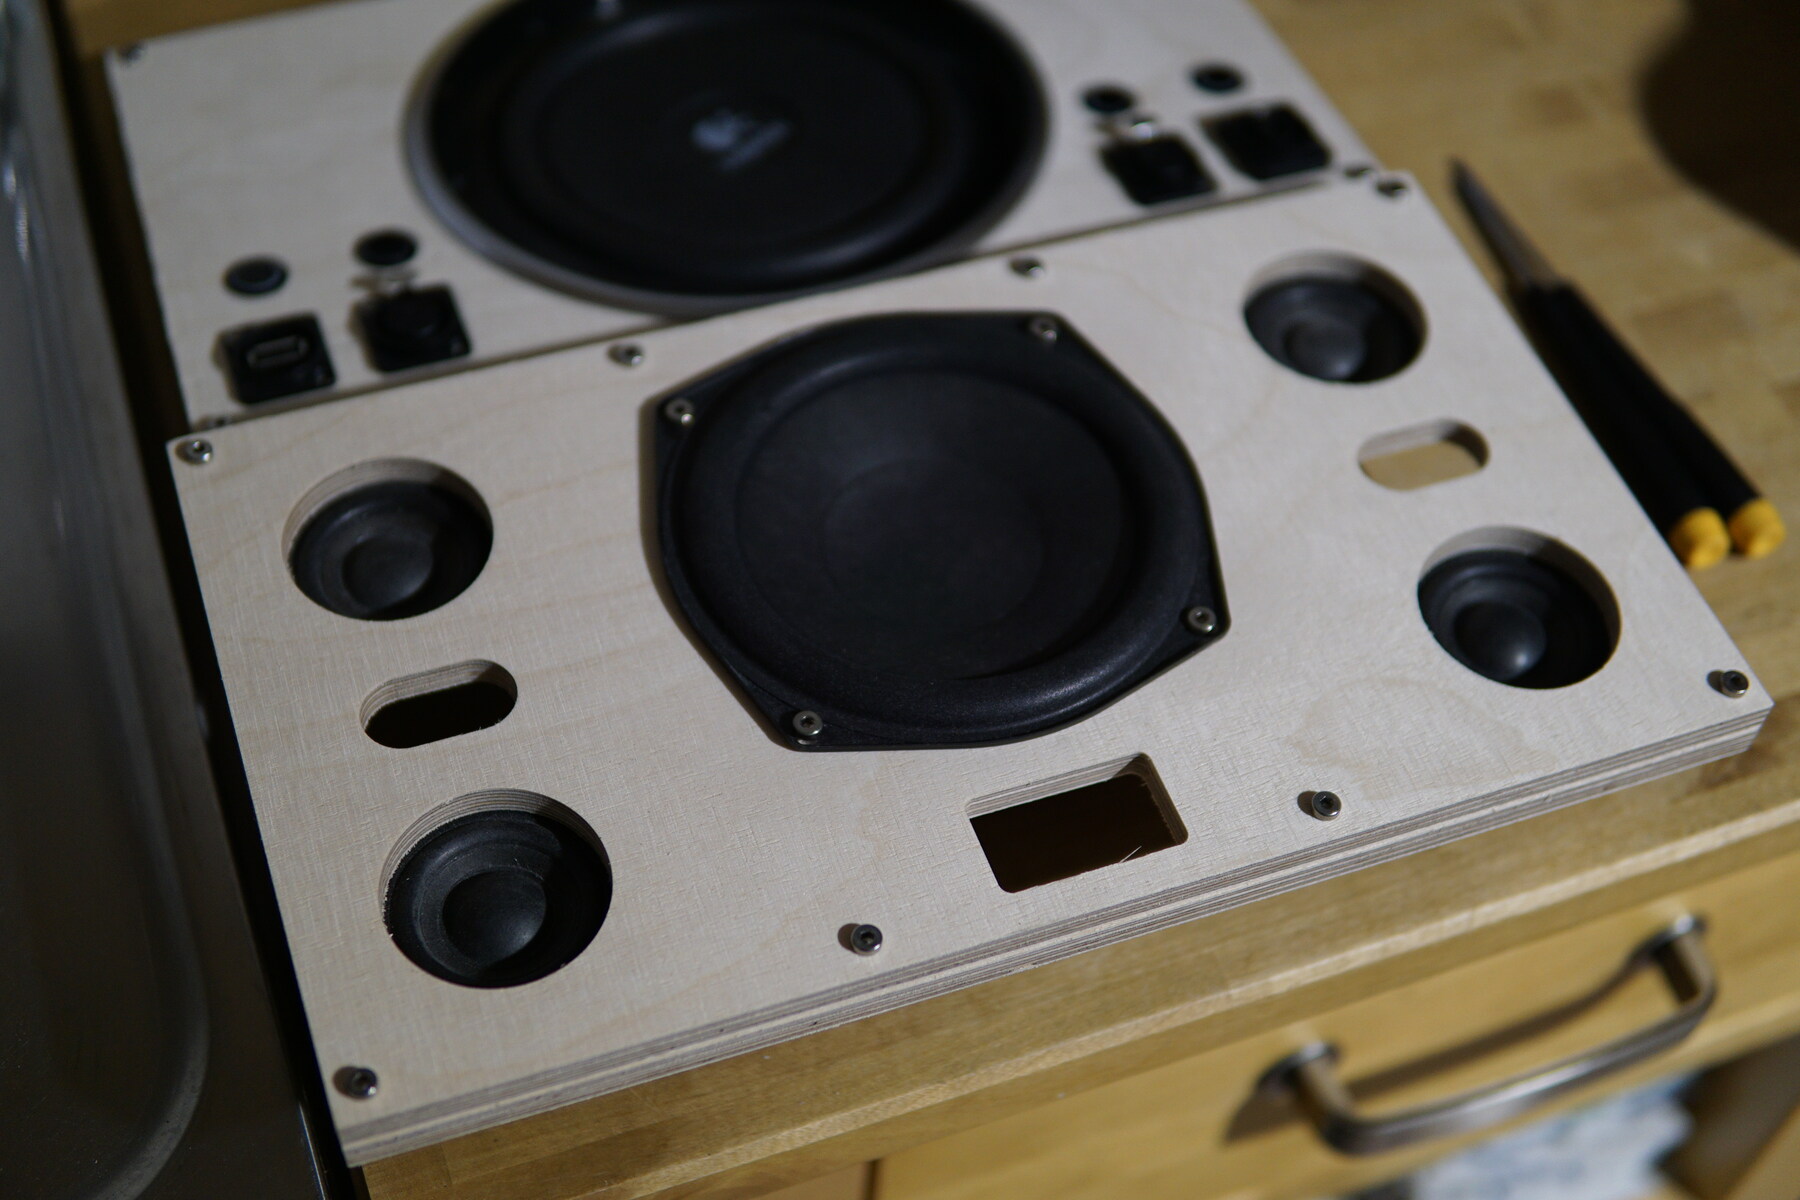
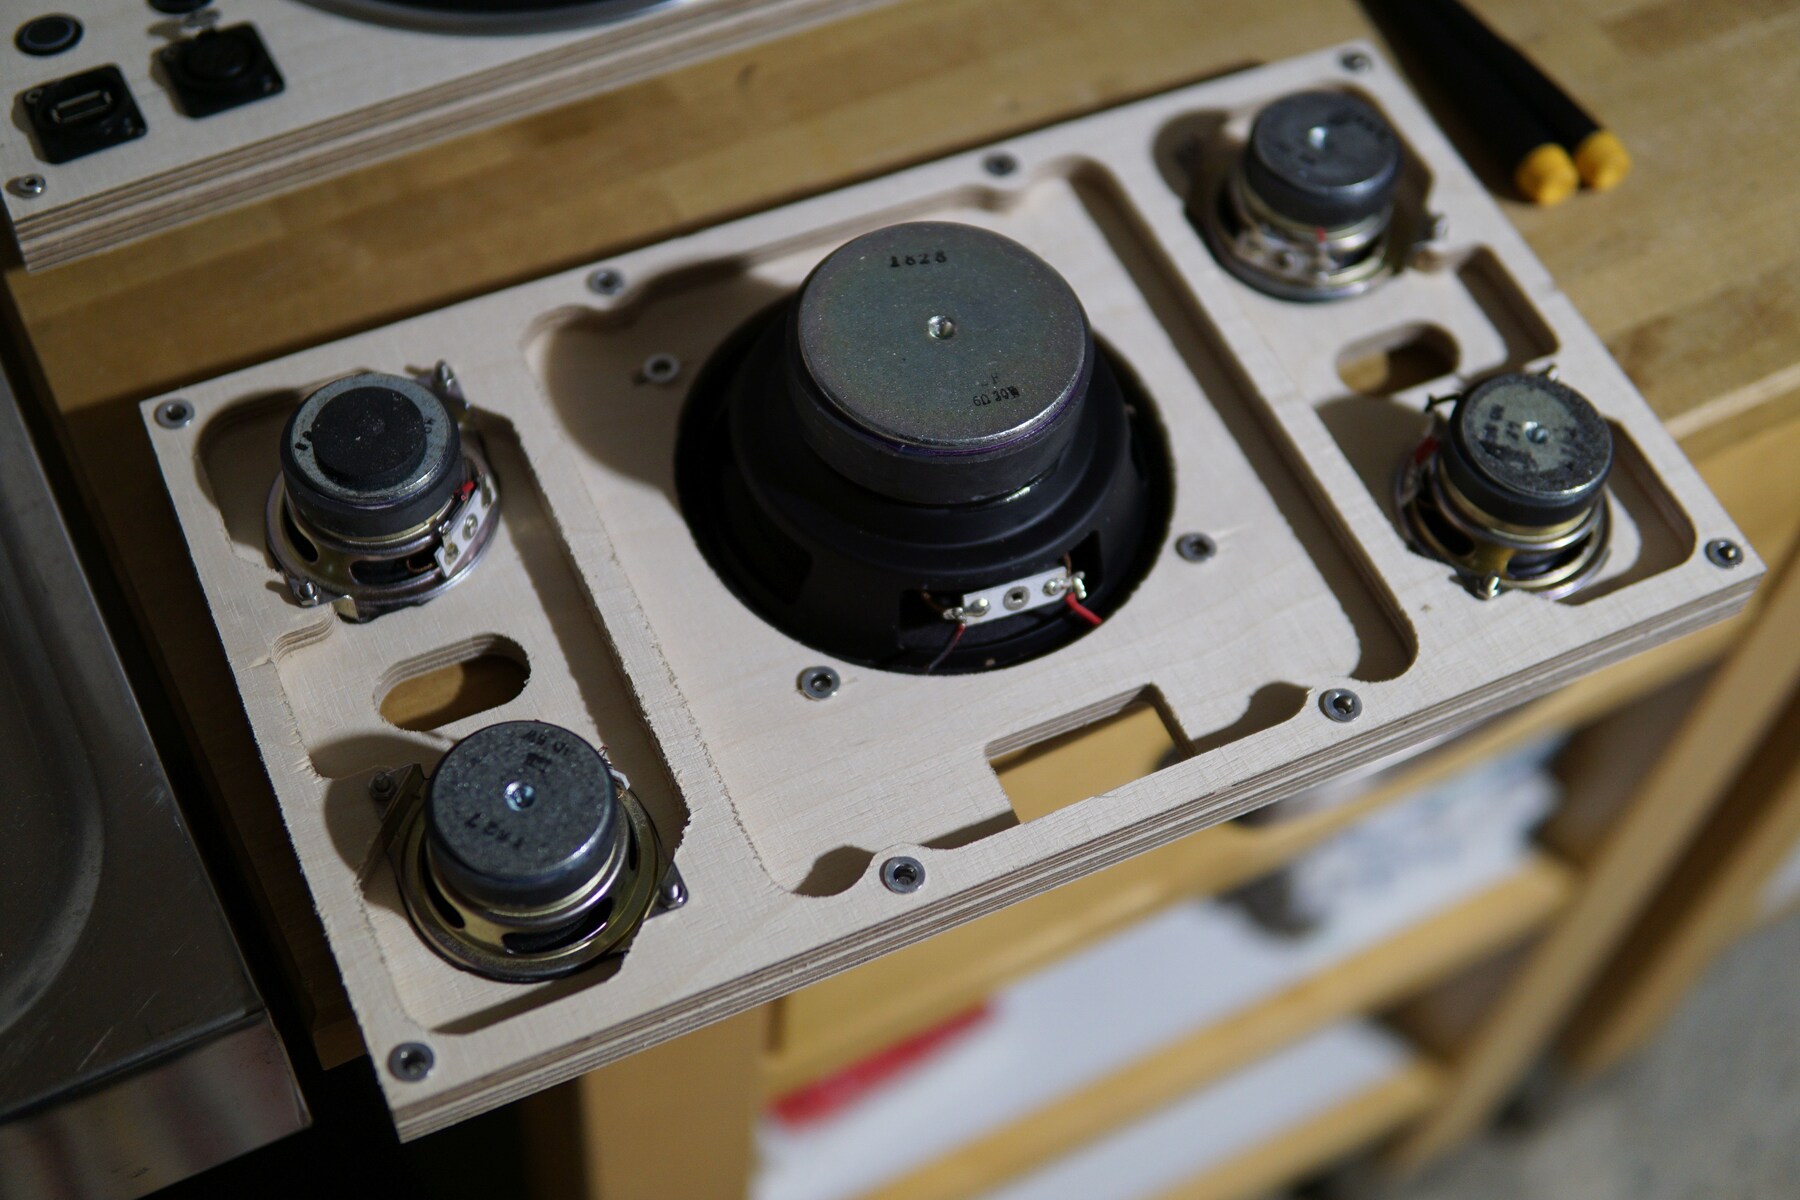
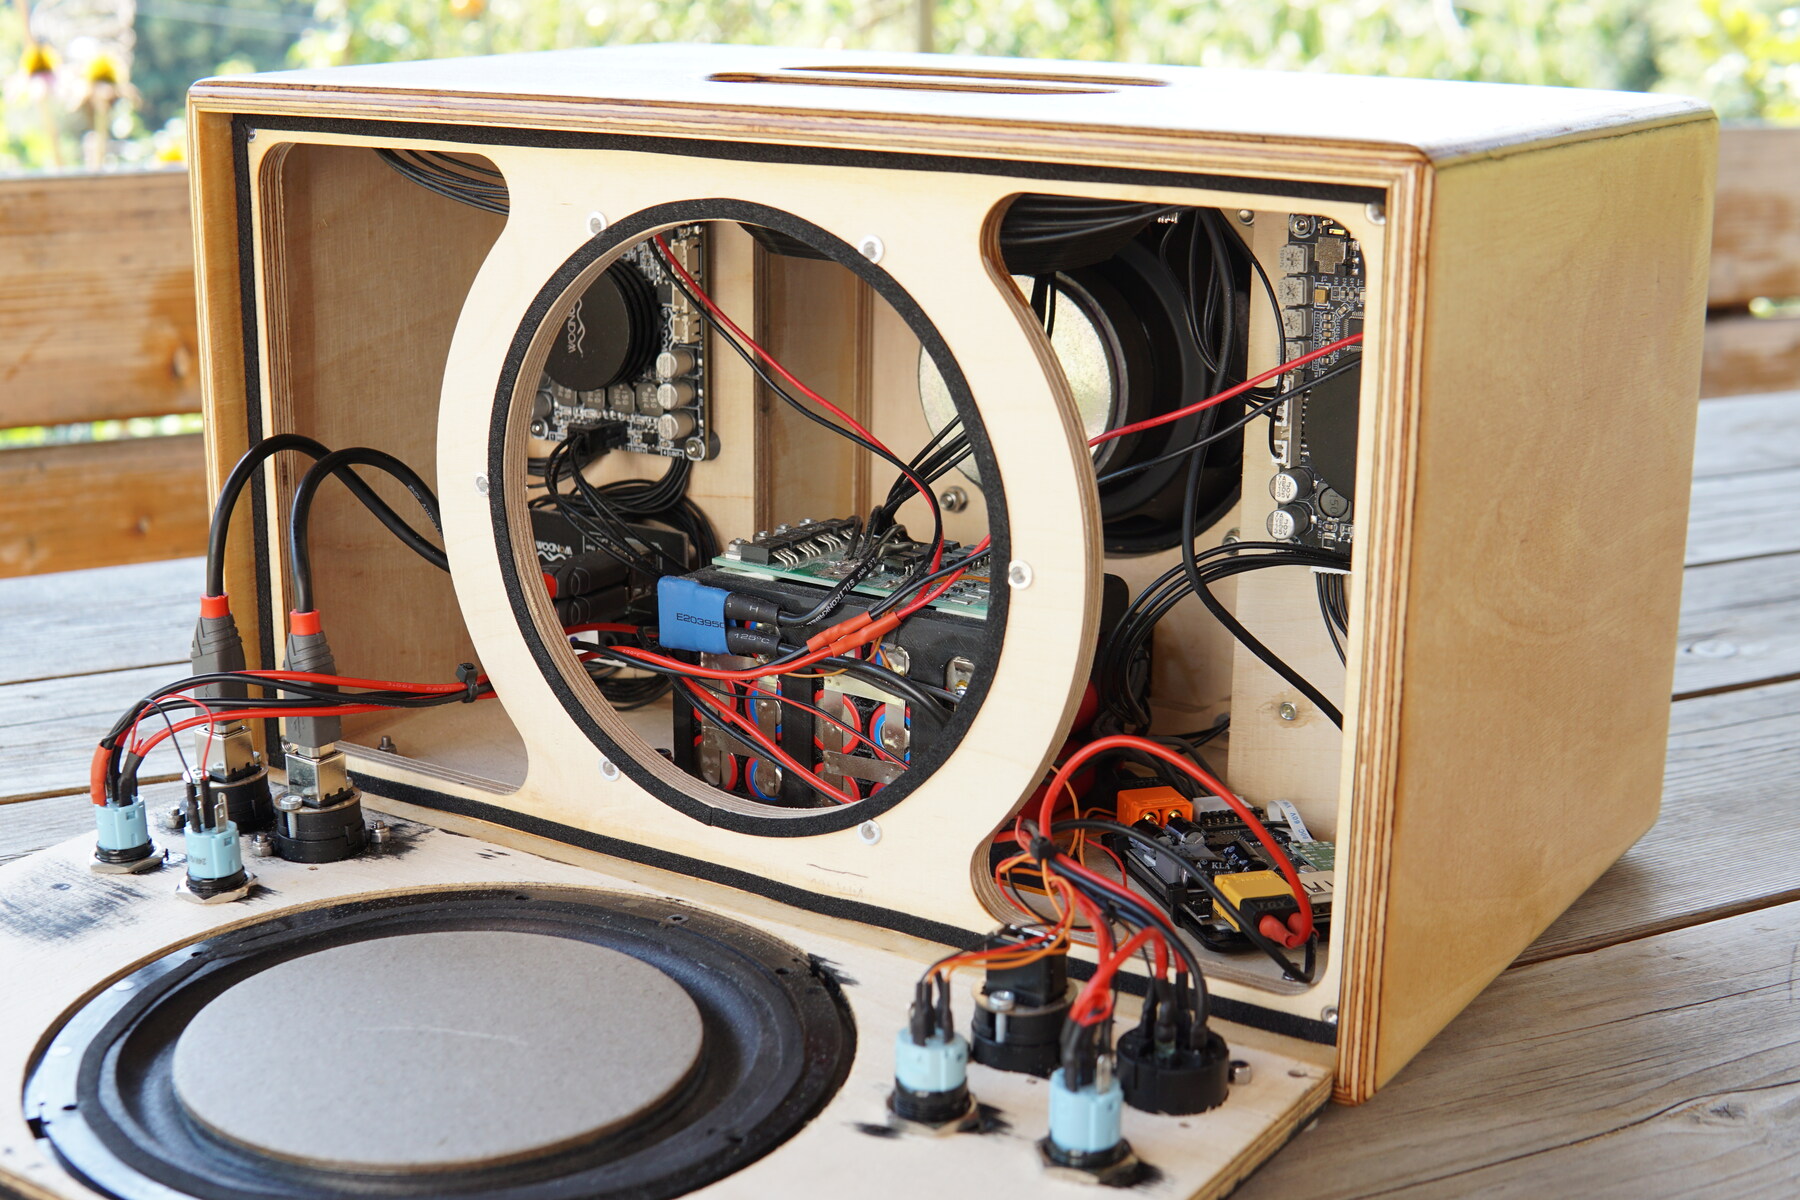
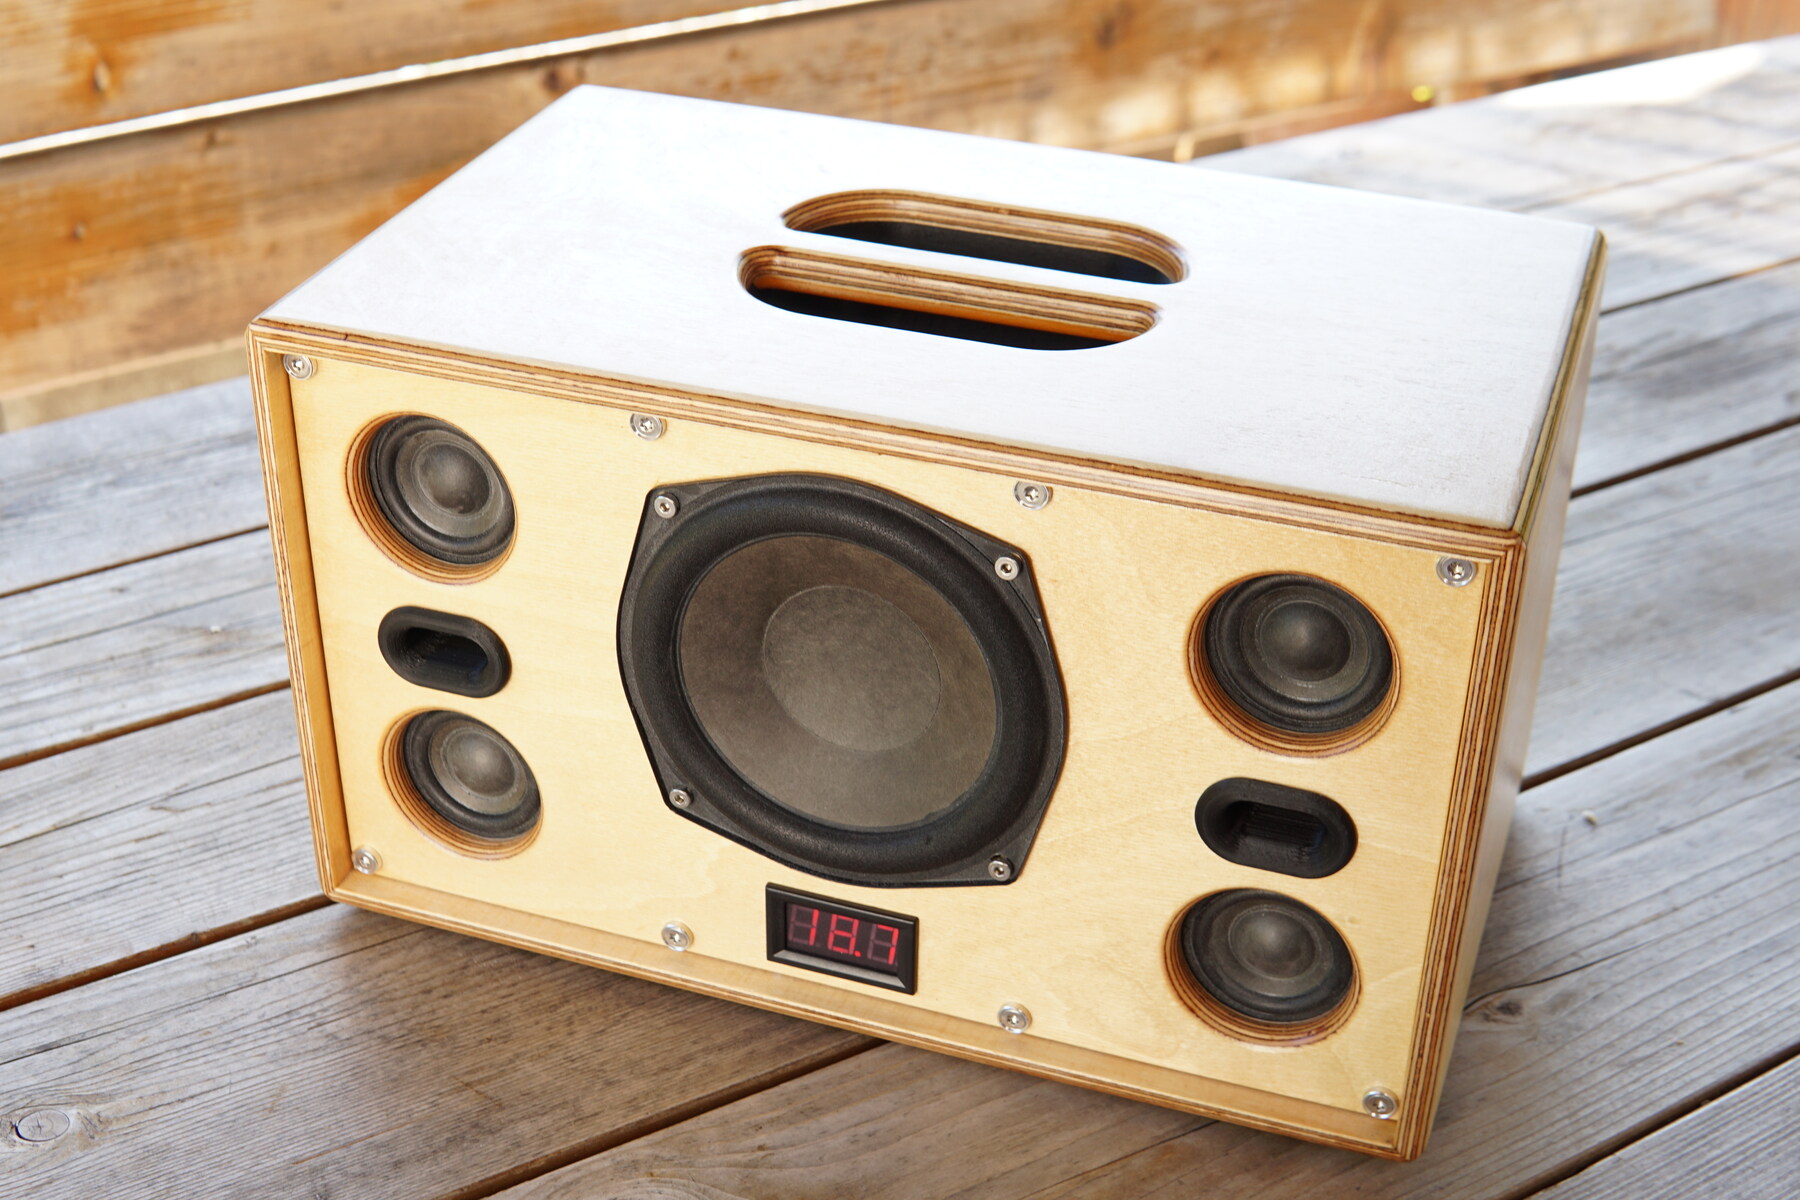
This is one of my longest running projects, and the most work-intensive I have yet posted here - a Bluetooth speaker designed from scratch. It's built around the drivers from an old Logitech Z523, one of the best speaker sets out of Logitechs lineup. Sadly (or luckily?) the internal amplifiers die rather often, so a broken set can be found for as cheap as 5$ every now and then. Awesome, if all you're interested in are the pretty decent drivers and the passive radiator. I also happened to come across cheap NCR18650GA, which I combined into a 5S3P pack (~180 Wh). Now the real work began - design a pretty and somewhat compact enclosure. After lots of scrapped designs in Fusion360, I ended up with the current model. All enclosed speaker volumes are designed to match their Logitech counterparts in size. The LF driver shares it's volume with the passive radiator, while each MF/HF volume contains two drivers and a venting port (diameter and length copied, again, from Logitech).
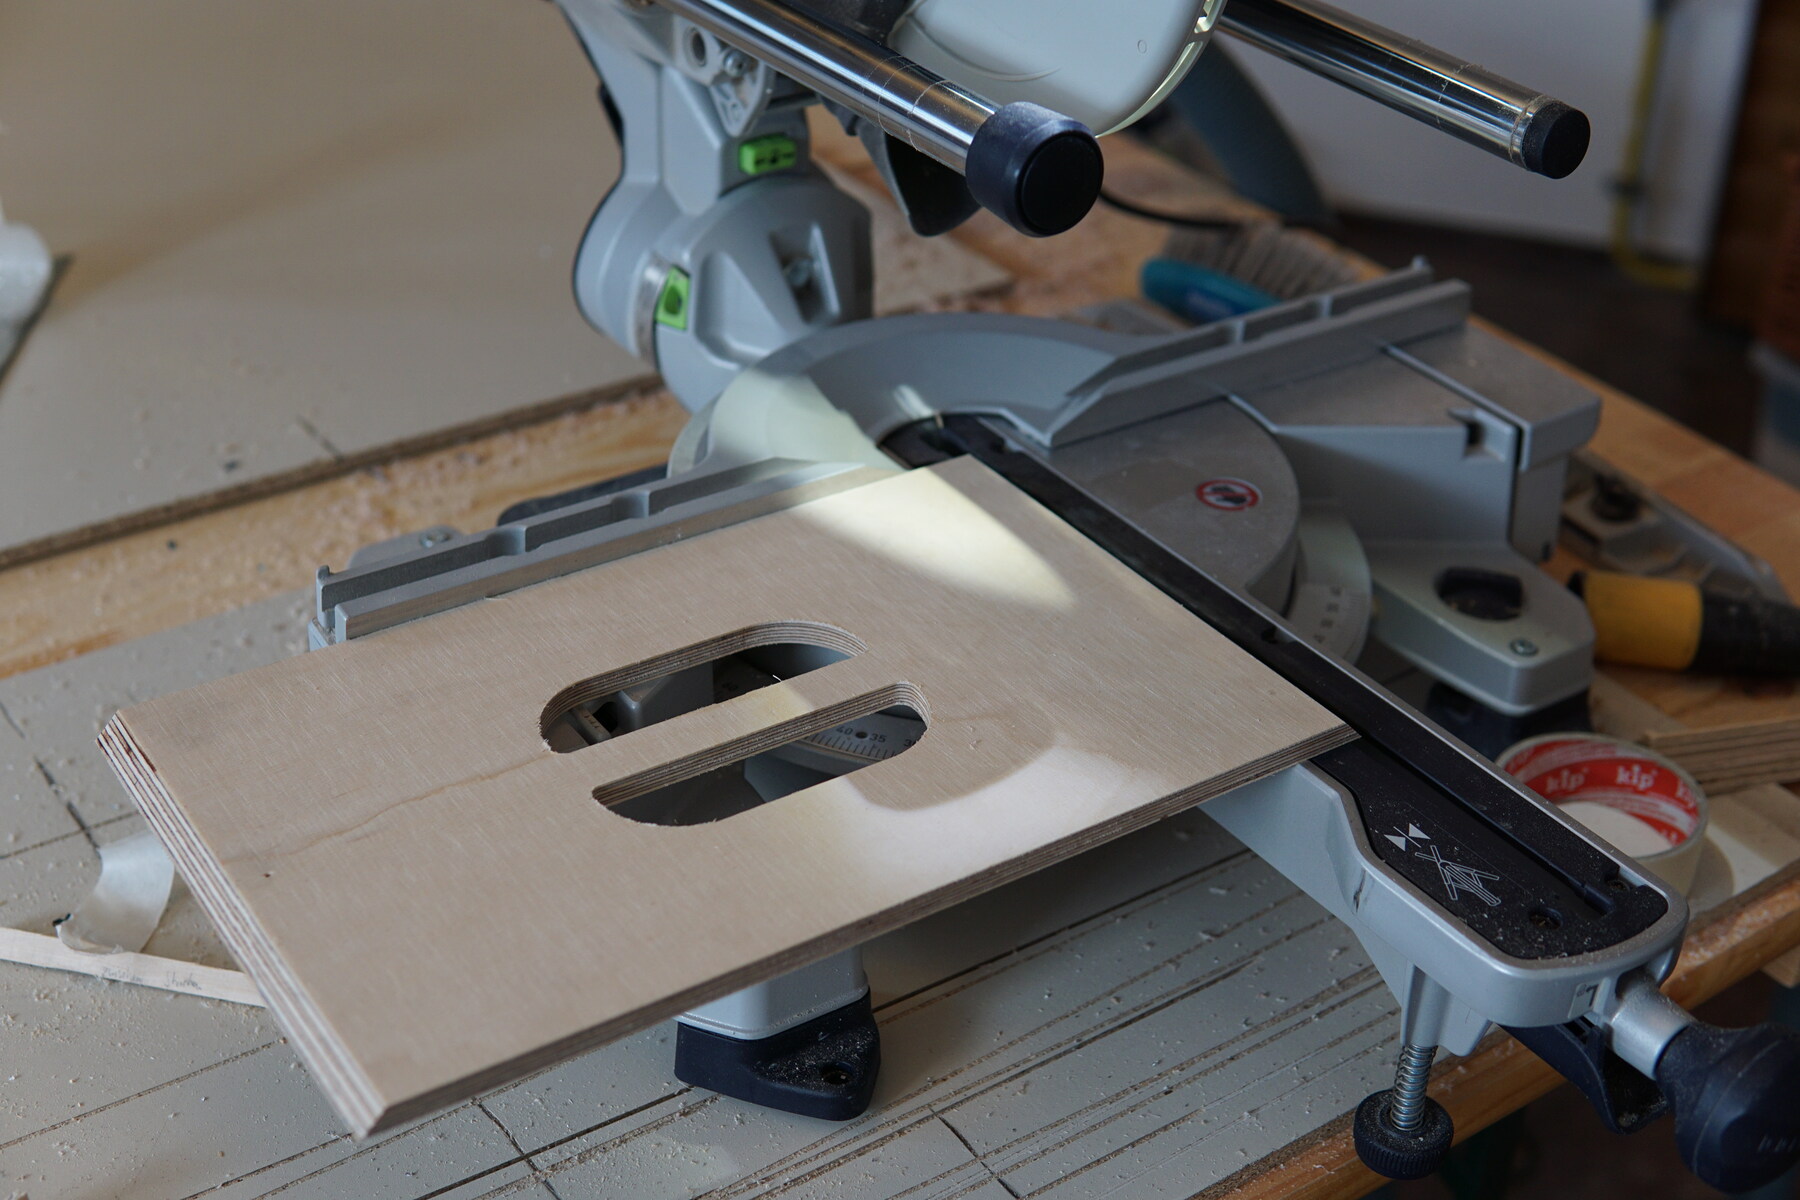
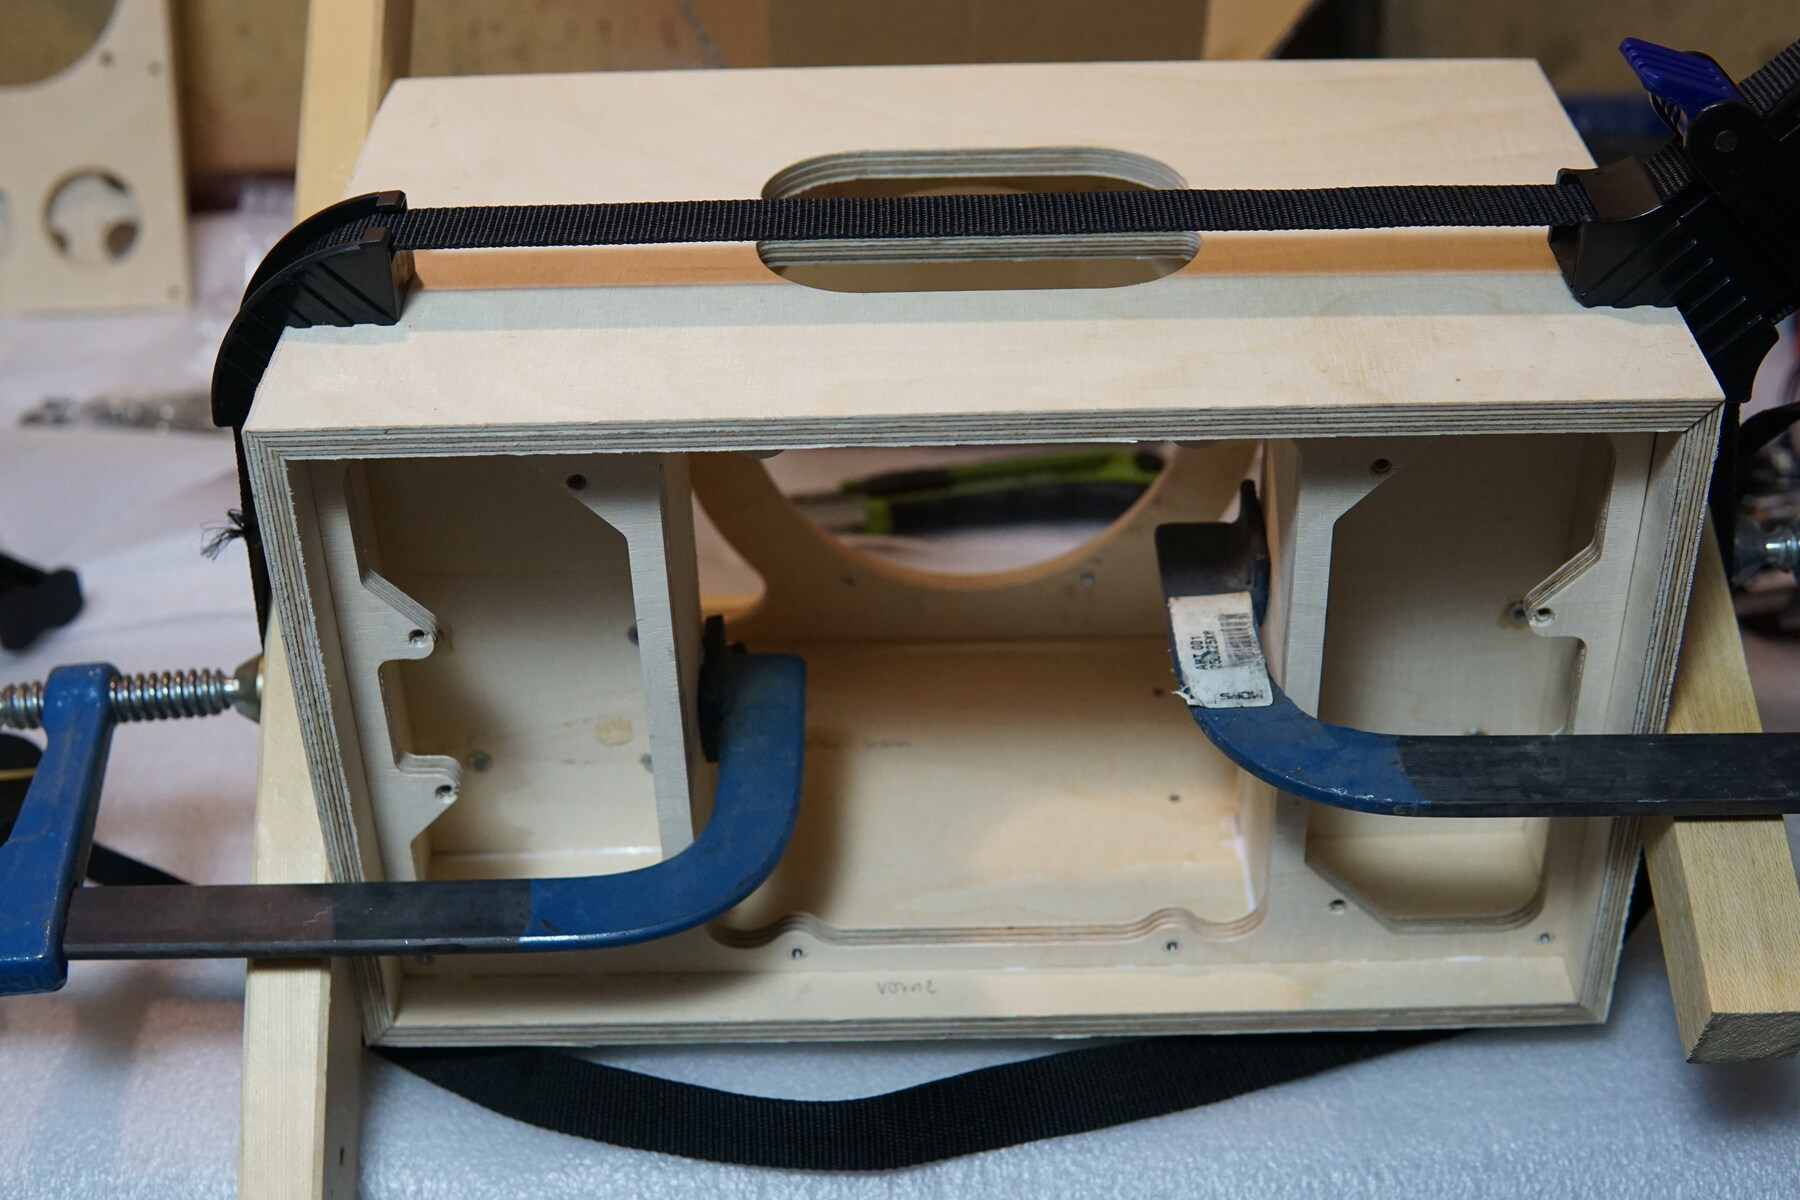
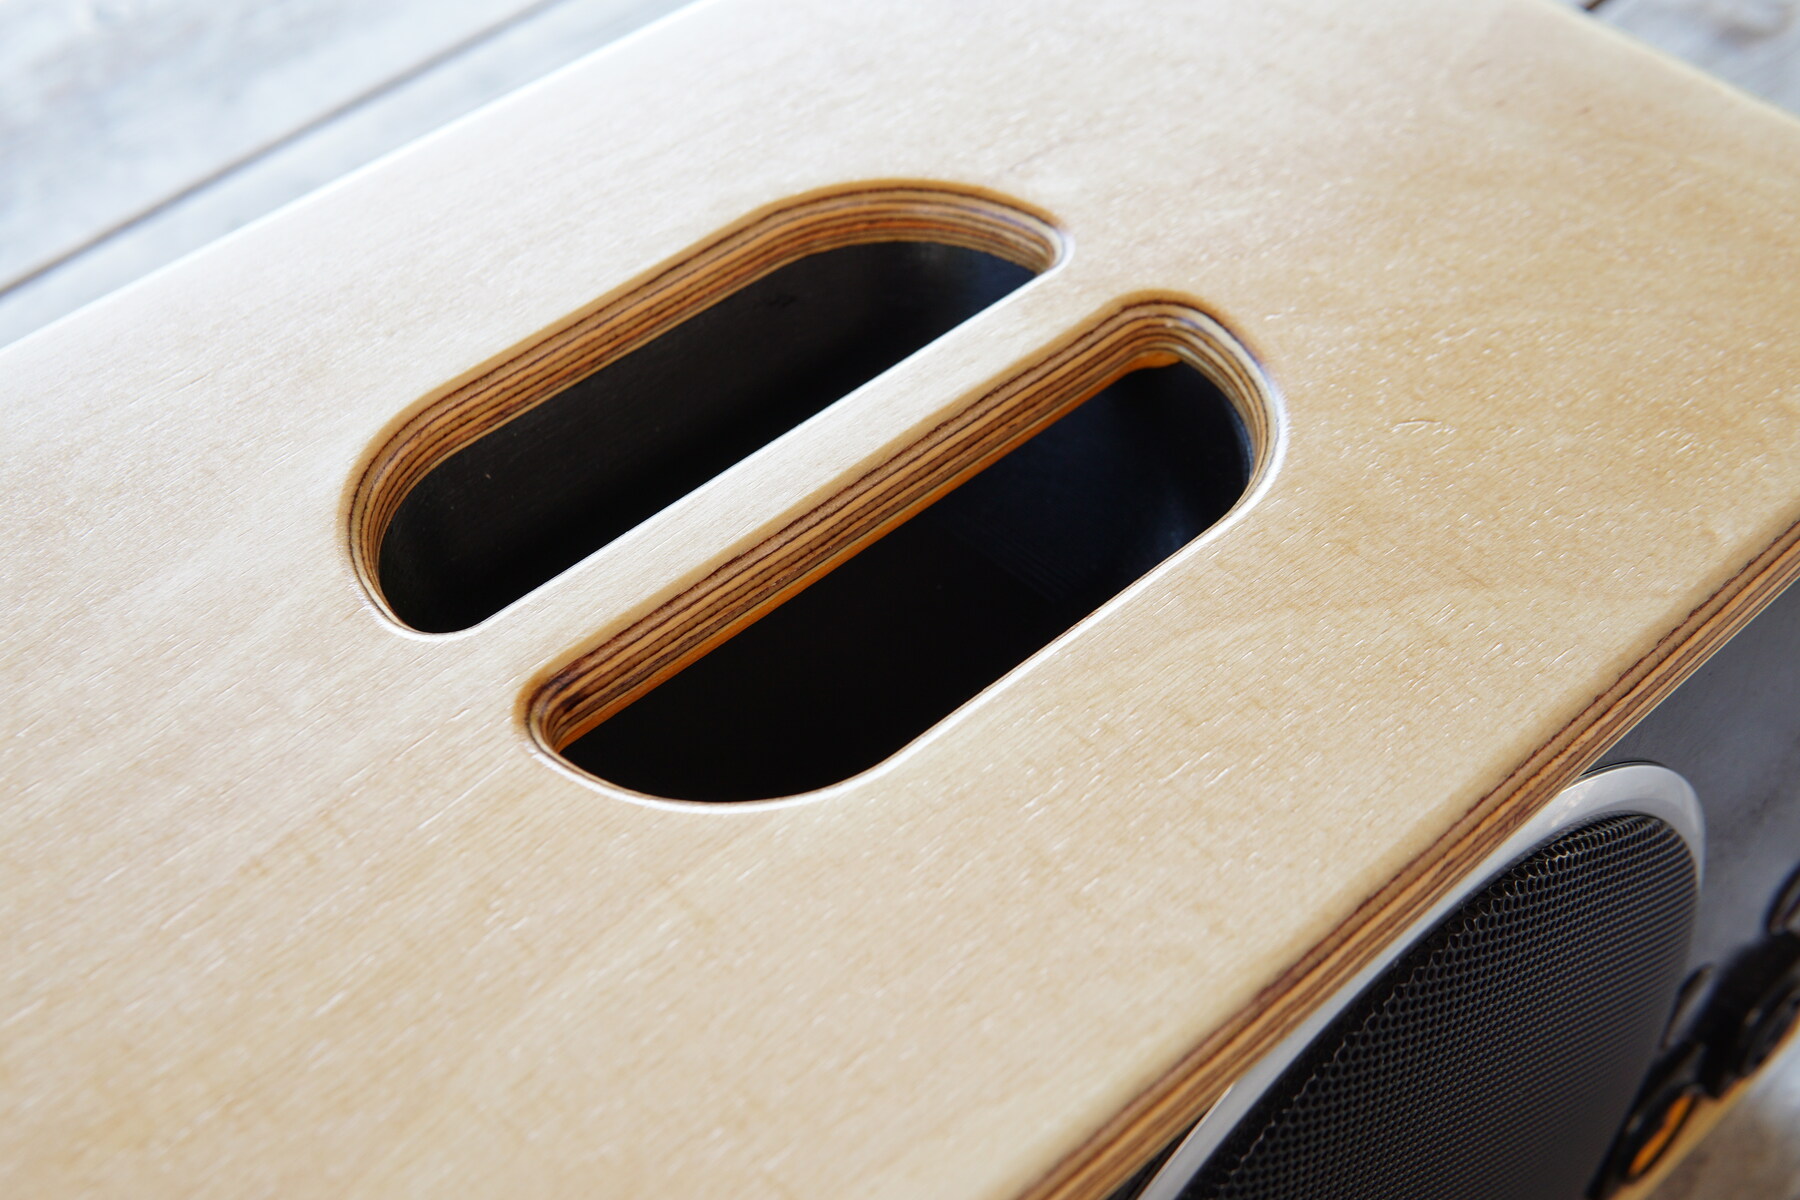
After having the parts CNC milled by a friend of mine I had to cut the mitered edges with a circular saw and glued it all together. Afterwards I used a router to mill the fillets on all outside edges, as well as the handle and HF driver holes. Then days of sanding began. I really should buy a sanding machine before doing any other woodwork... In the end I added 4 layers of clear wood coating intended for "rough and outdoor use". I didn't take any pics during that time, but I guess you can imagine how sanding and painting wood looks like. Some parts like the insides of the handle and the front vent openings have been 3D printed from dark gray PLA, the feet and holding part of the handle from orange TPE rubber filament. A 3D printer is a surprisingly powerful tool for DIY hardware design.
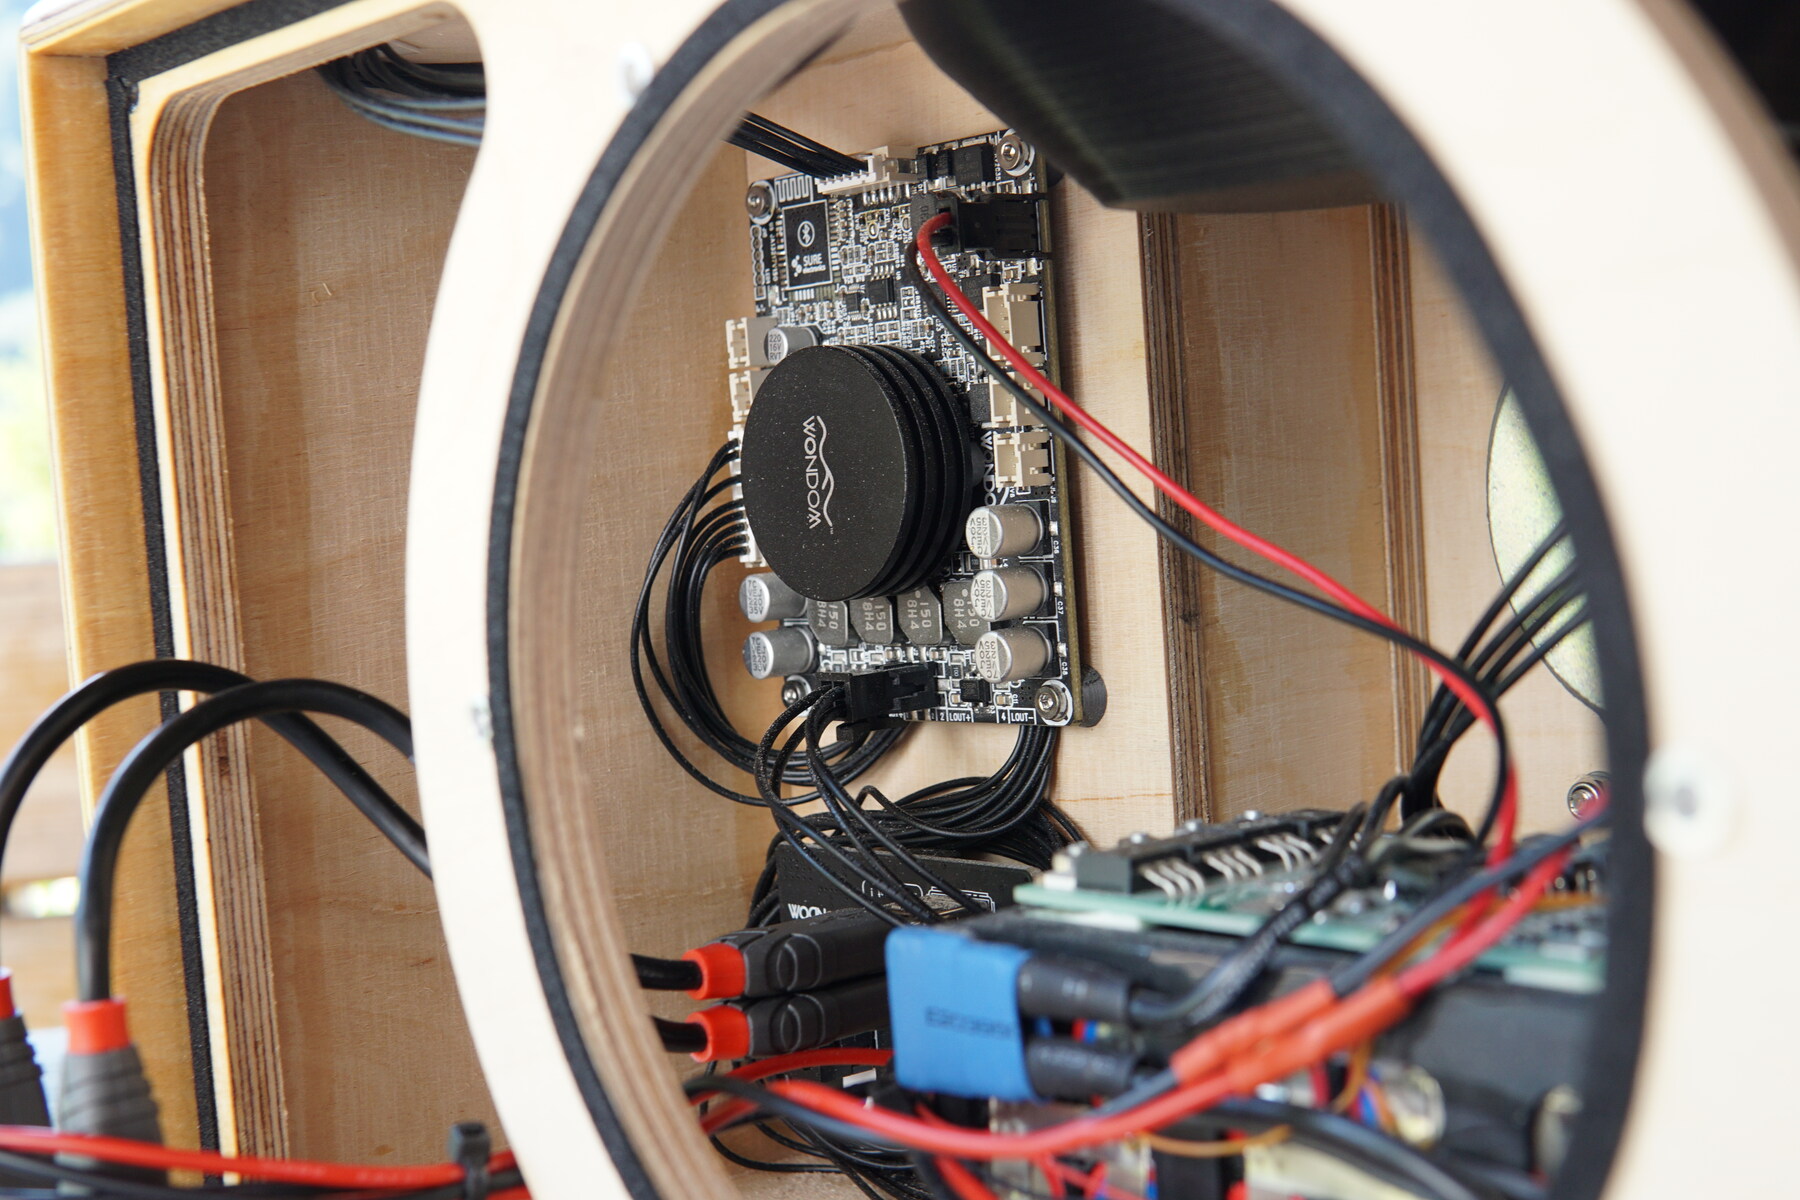
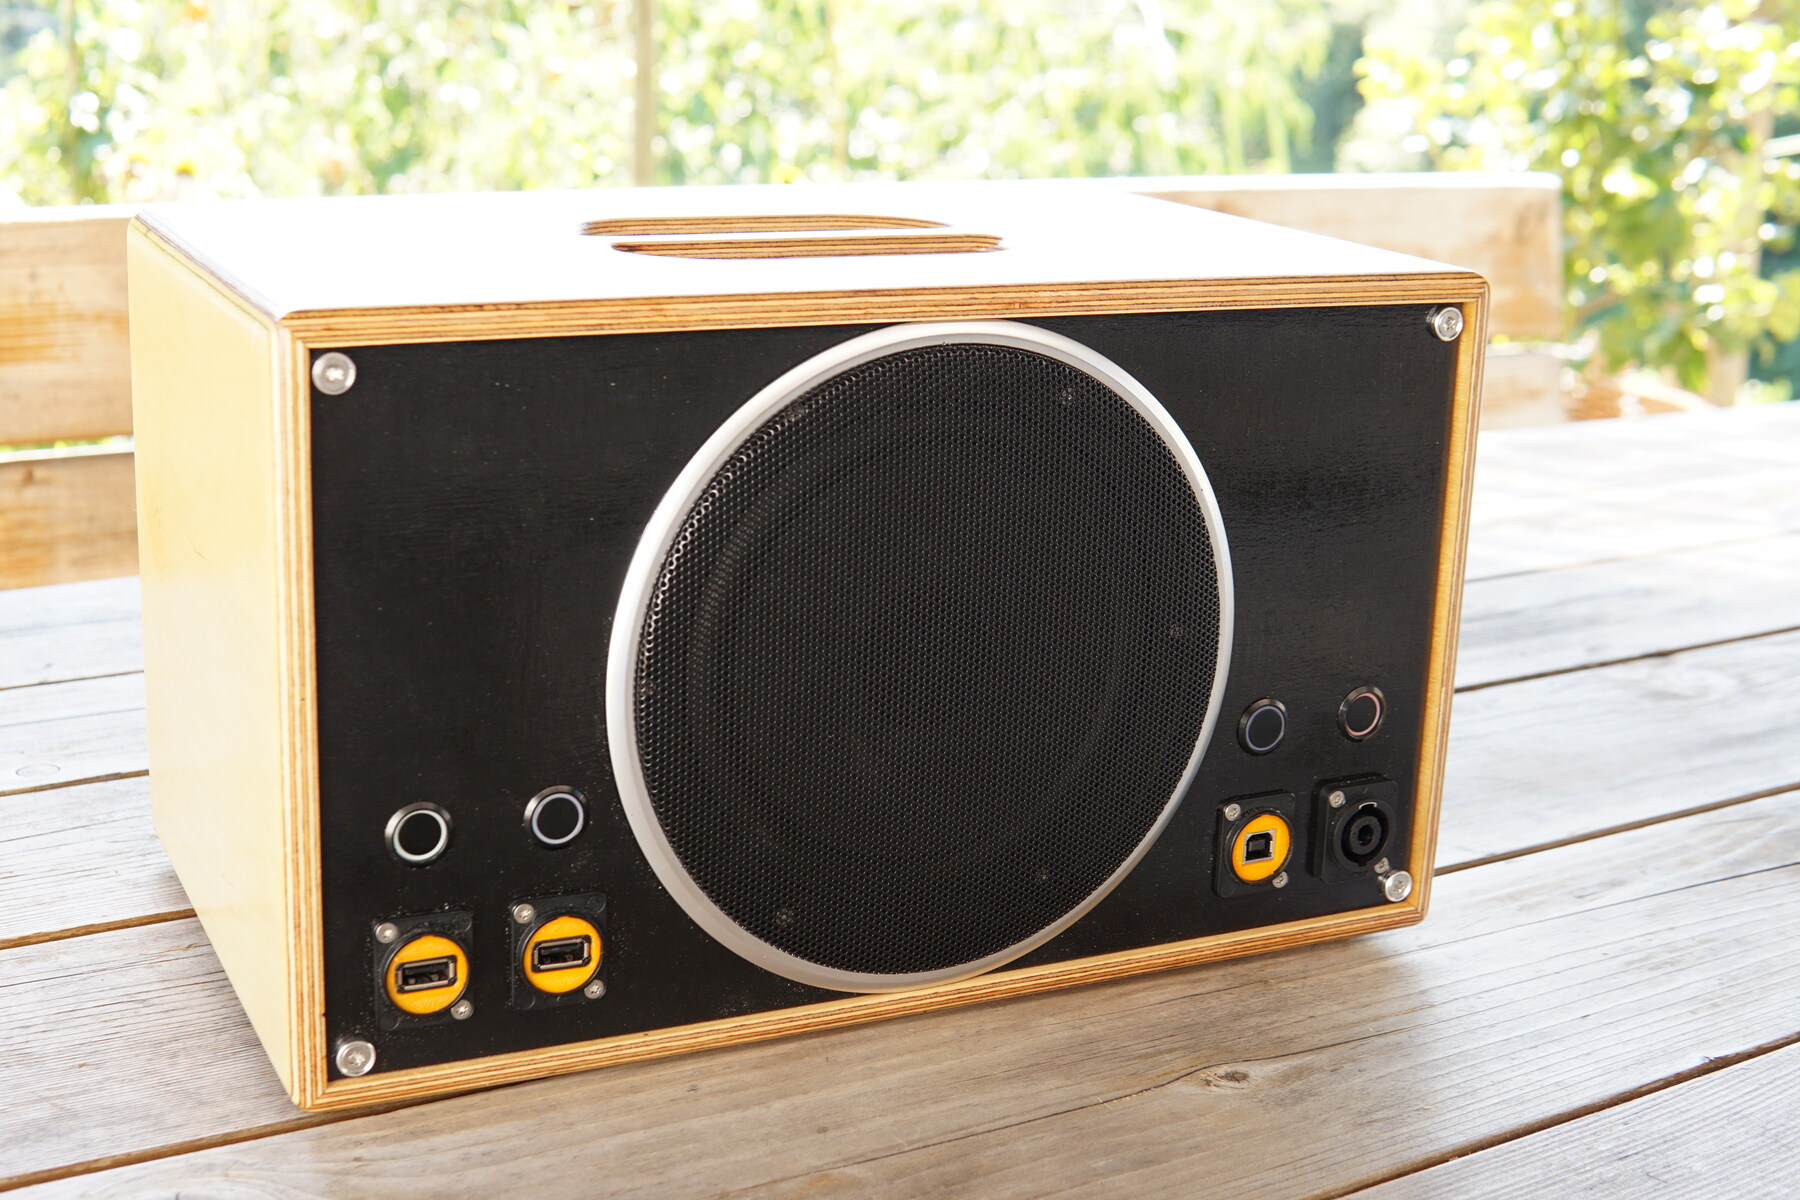
I decided to grab a Sure/Wondom Audio JAB2-50 and JAB3-100 class D amplifier module. The PCBs include an apt-X Bluetooth receiver (JAB2) and an Analog devices ADAU1701 DSP (JAB3), next to TPA3116D2 class D amplifiers. Sadly, I encountered multiple issues. The Bluetooth receiver on the JAB2 had poor range and the DSP picked up a lot of noise on it's analog input. After a while I gave up trying to fix those issues, ripped the Bluetooth module off the board and purchased a CSRA64215 Bluetooth receiver with digital I2S output instead. Thanks to this great tutorial the setup proved to be fairly easy, even if the JAB3 was seemingly not intended for I2S input. A nice side-effect of the CSRA module is, that it gave the speaker the capability to serve as a USB audio device, too. It still has a few issues. The JAB3 is equipped with a chip to monitor the anlog input and turn off the DSP if no signal is detected for extended periods of time. The easiest workaround was to clamp RESET to 3.3V permanently with a wire bridge, keeping the DSP active at all times. It appears to have some in-built option to disable the TPA3116D2 the moment the DSP is powered off to prevent it from making a popping noise at power off, however this feature was implemented using one of the GPIOs needed for I2S and can therefore not be used. In addition, my JAB2 and JAB3 do not have synchronisable mute inputs, because they appear to be different PCB revisions. The popping sound at power off is an issue I have yet to address.
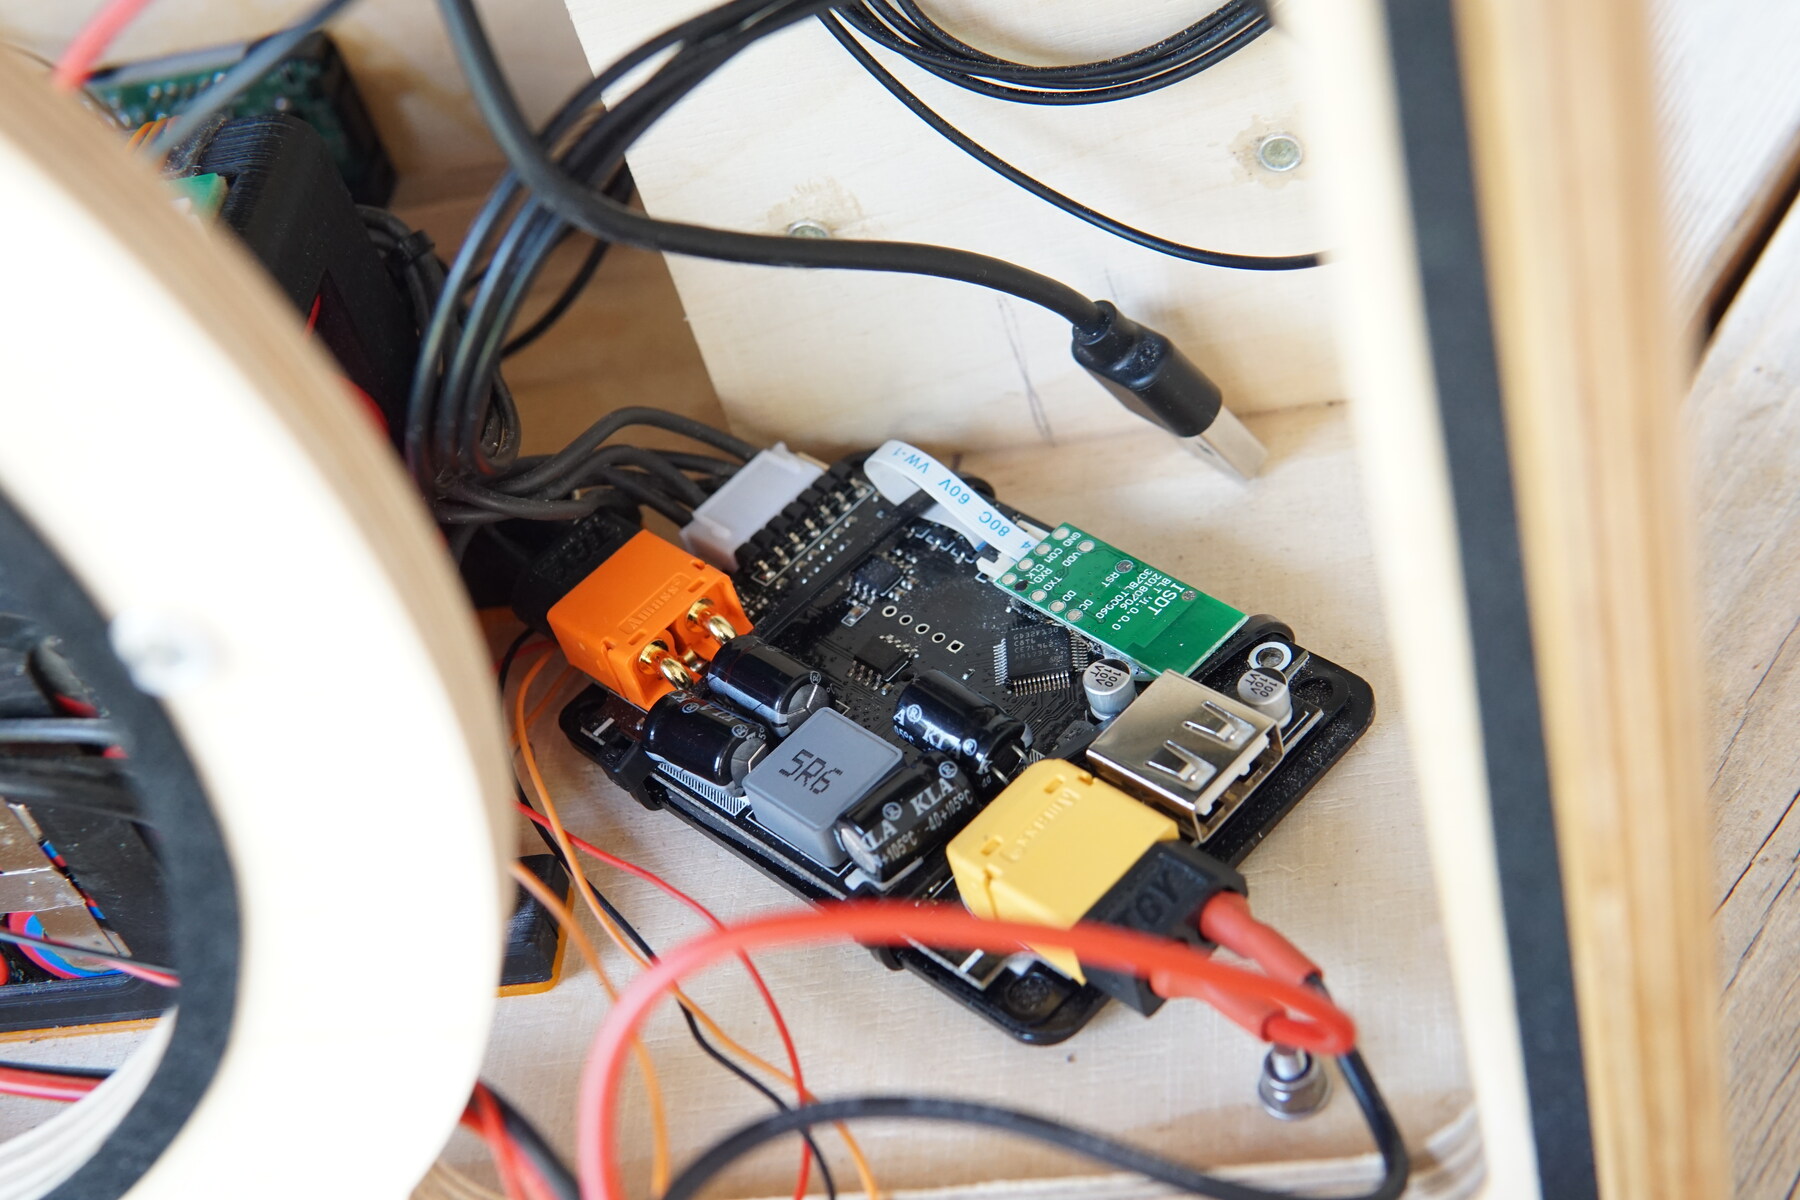
I added a cheap 5S BMS from aliexpress to monitor the battery and protect it from over-current or deep-discharge. Charging the battery was a bit trickier, especially since I wanted a wide (at least 12-24 V) input range, so I decided to buy an iSDT H605 Air. It's a LiIon battery charger from a RC company, which is designed to be operated using a single push button and set up and monitored with a cellphone application connected over Bluetooth - the perfect choice for a Bluetooth speaker! It's mounted inside the enclosure and a Neutrik Speakon connector allows supplying it with 10..27 V. The charger has a selectable input power limit - I chose 40 W to make it compatible with smaller notebook chargers and USB-C PD power supplies.
Even if the speaker is currently working, it still is far from being finished. I still have to find a workaround to implement my own power-down-method for the amplifier chips to prevent popping. Wiring them to an unused DSP GPIO might be a good solution, but further reverse engineering of the PCBs is needed. Using resistors to couple the DSP output signal back onto it's analog input (even if it is disabled) should keep the DSP from randomly shutting down during regular operation, but restore the power down feature during actual inactivity. Together with DSP-controlled amplifier disable inputs, it would allow for power saving idle operation if someone forgets to shut the speaker off.
In addition the current DSP profile is just a basic test setup and both the parametric EQ as well as the active crossover need some tuning for the speaker to reach it's full potential. I still have an unused pushbutton on the back, which I will connect to one of the DSPs GPIOs in order to change the EQ profile between a "neutral" and a bass/treble emphasized setup and make the speaker more versatile.