26.06.2020 - Cherry G80-1800
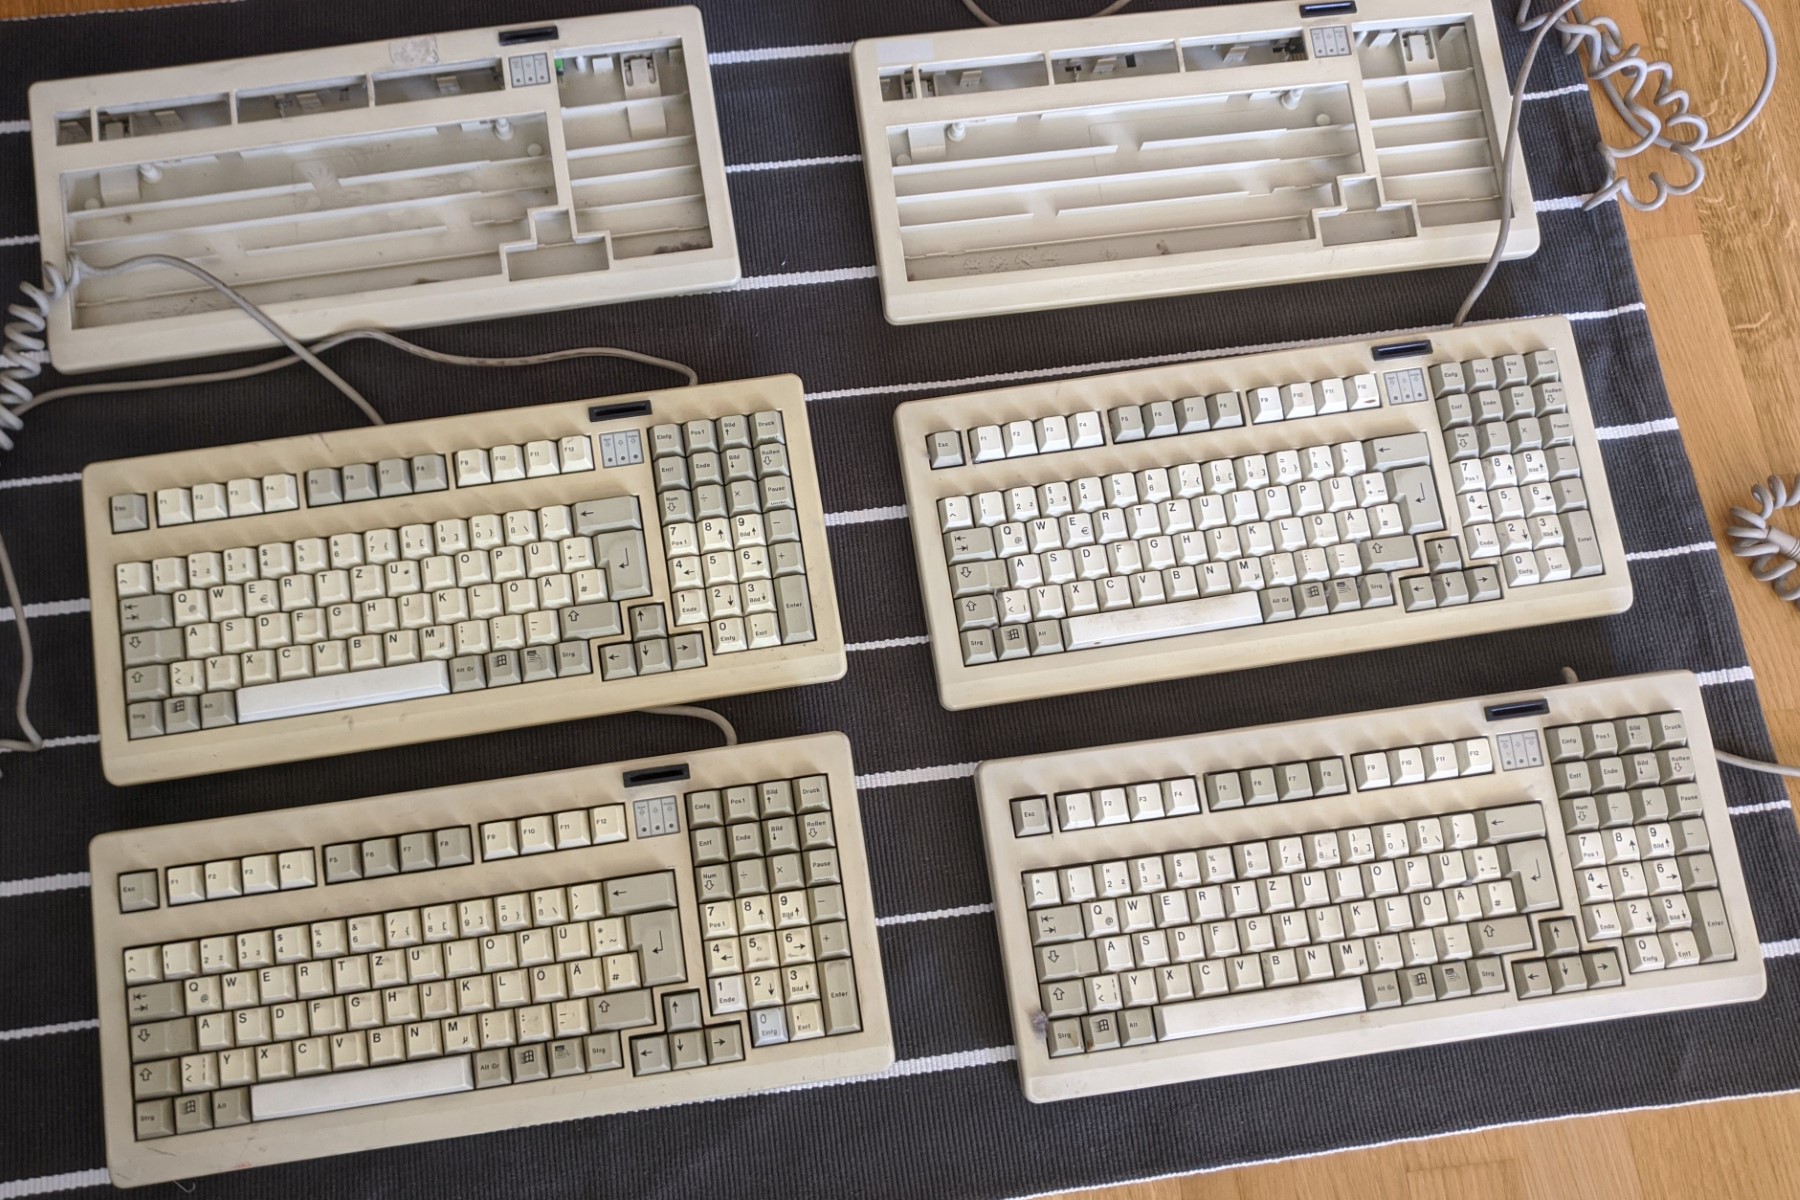
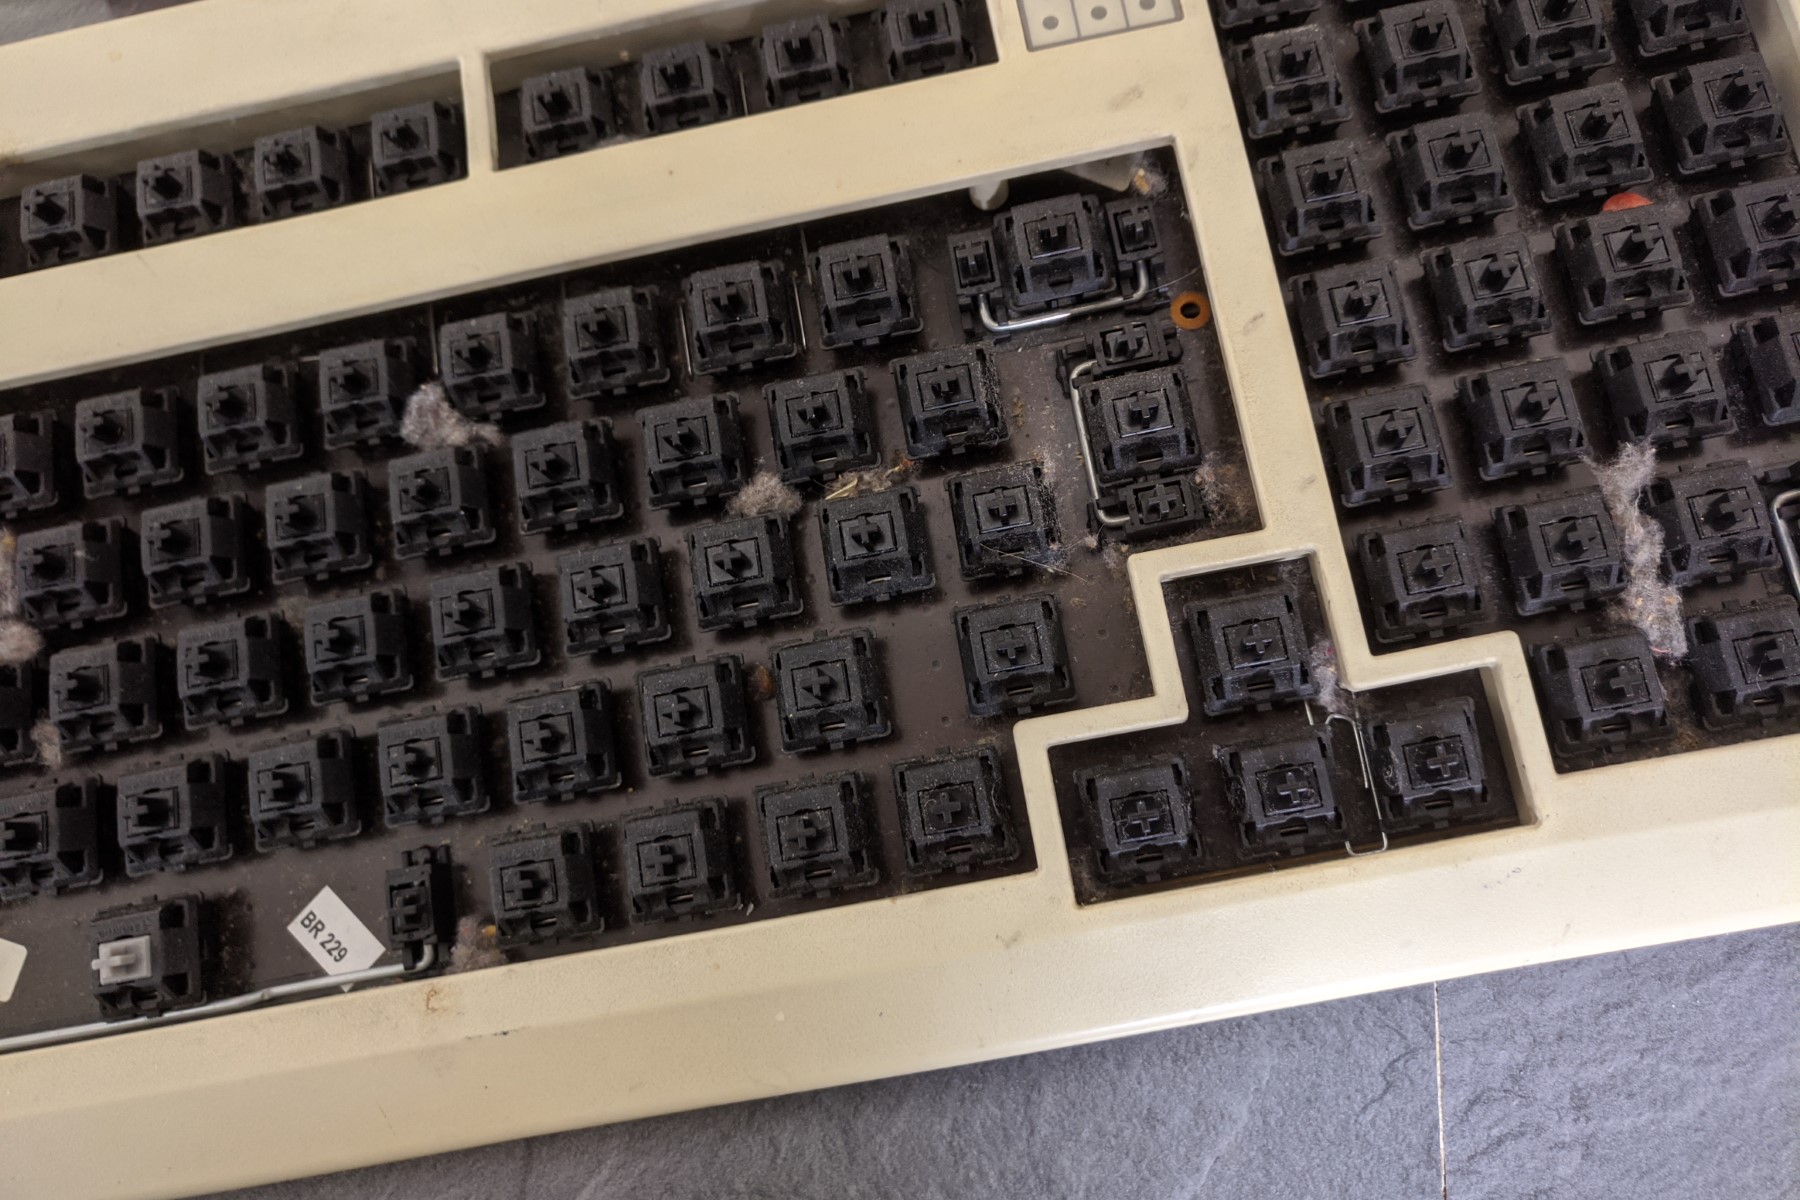
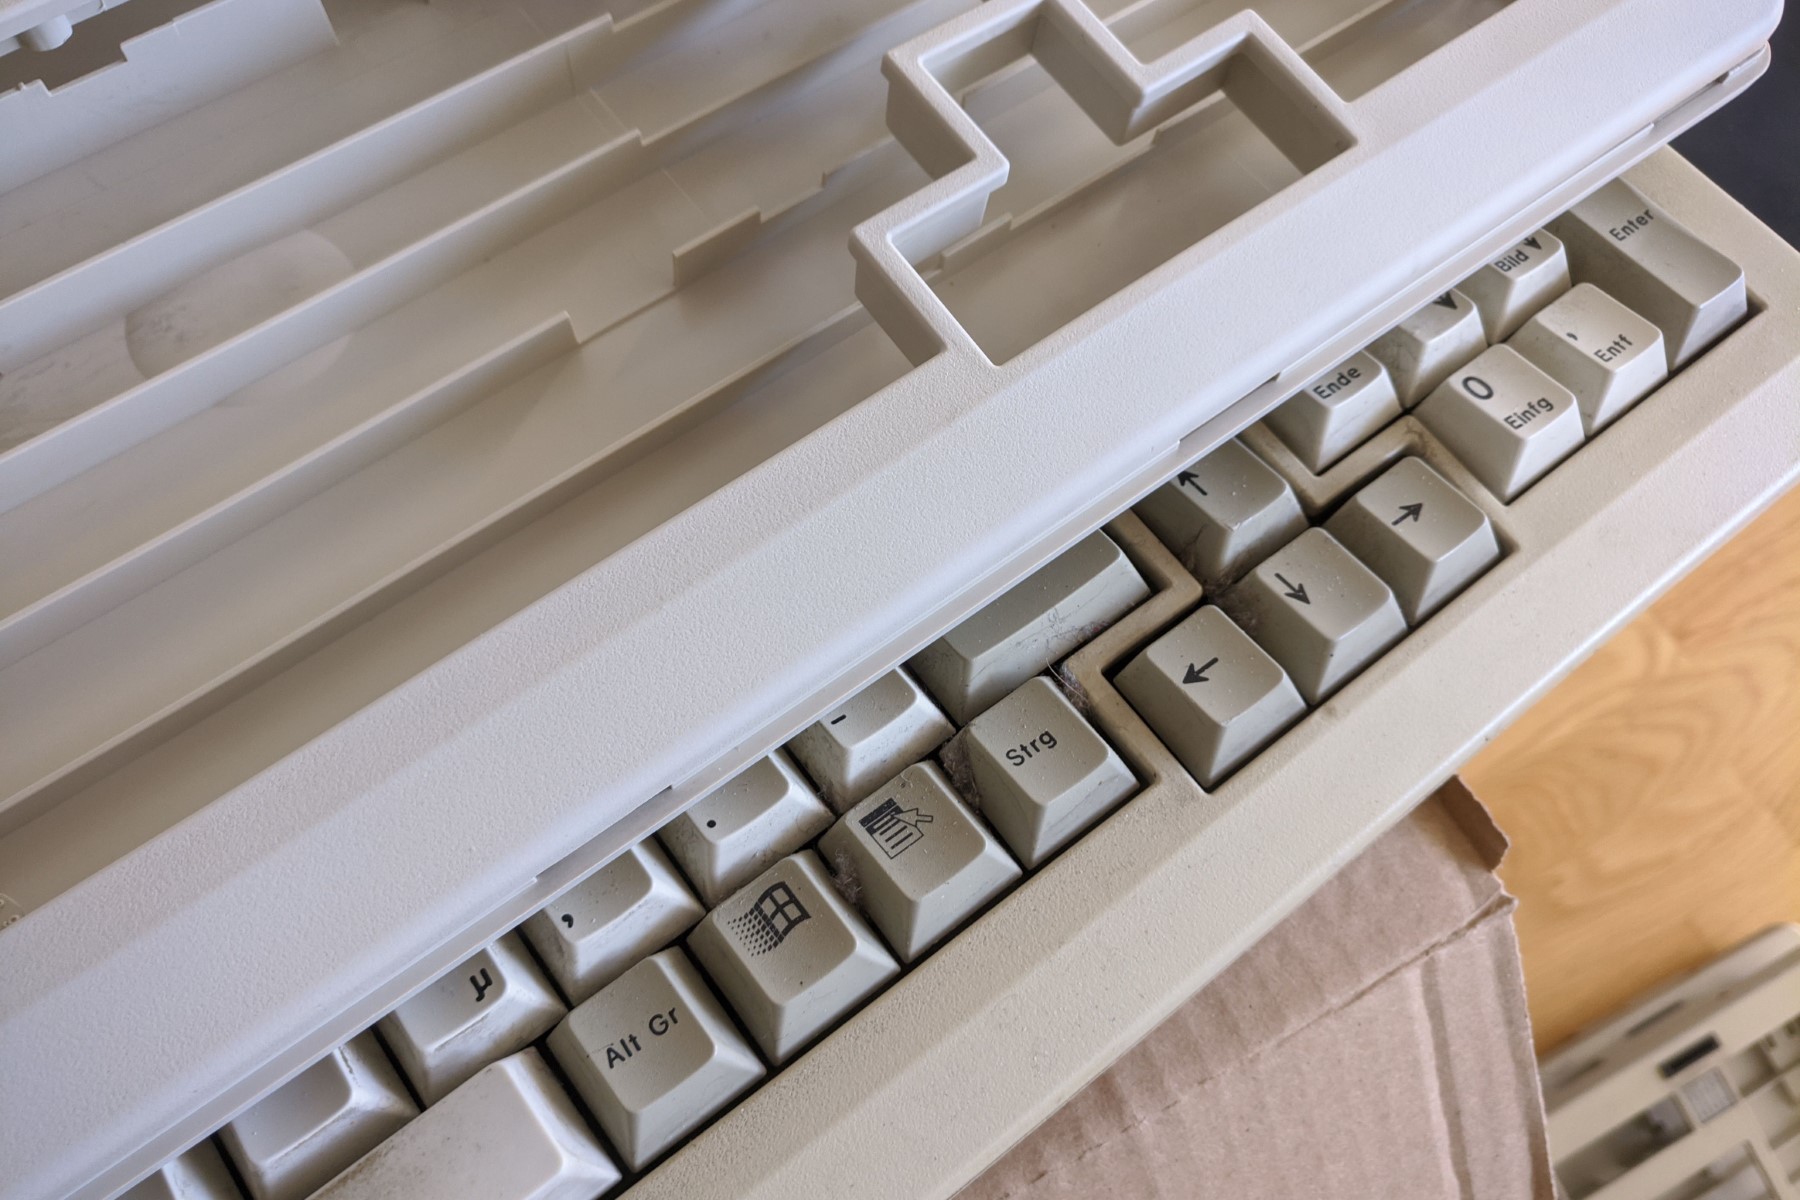
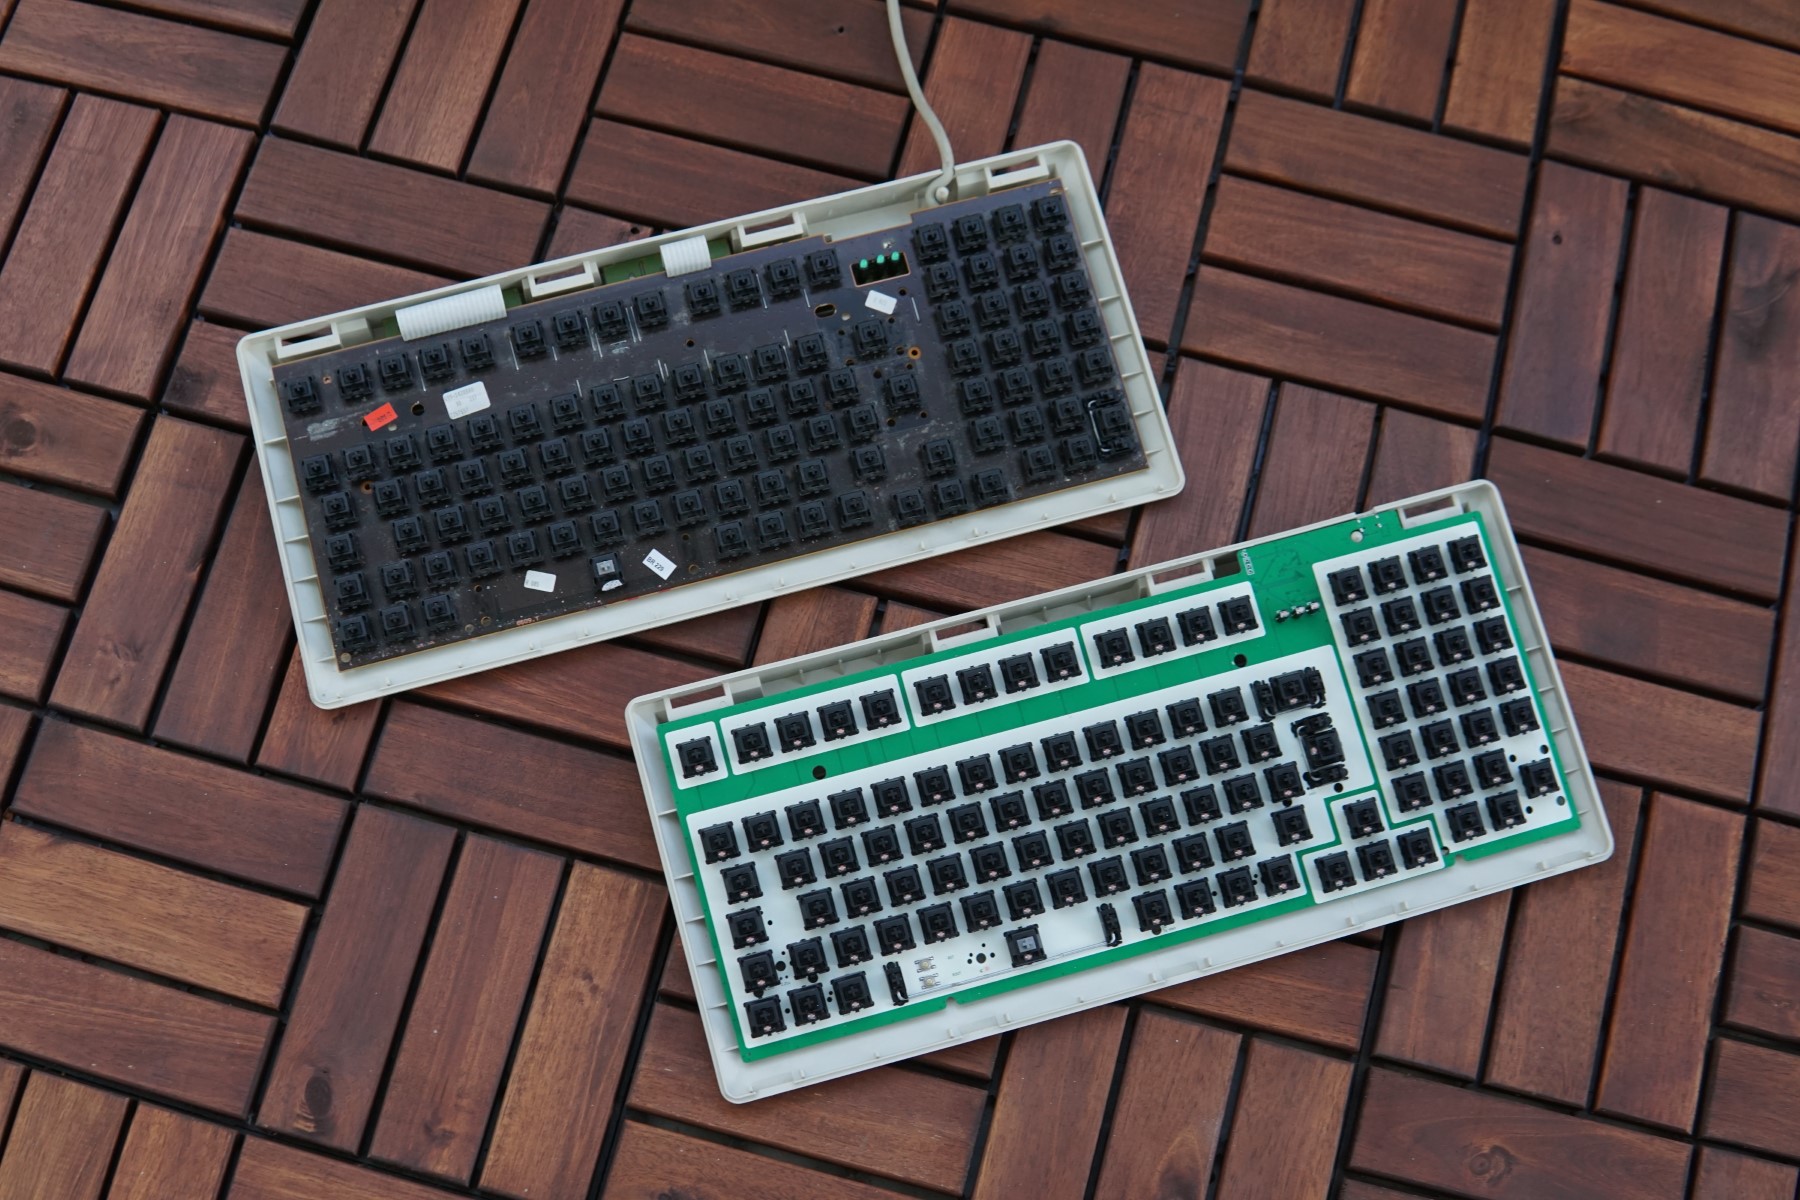
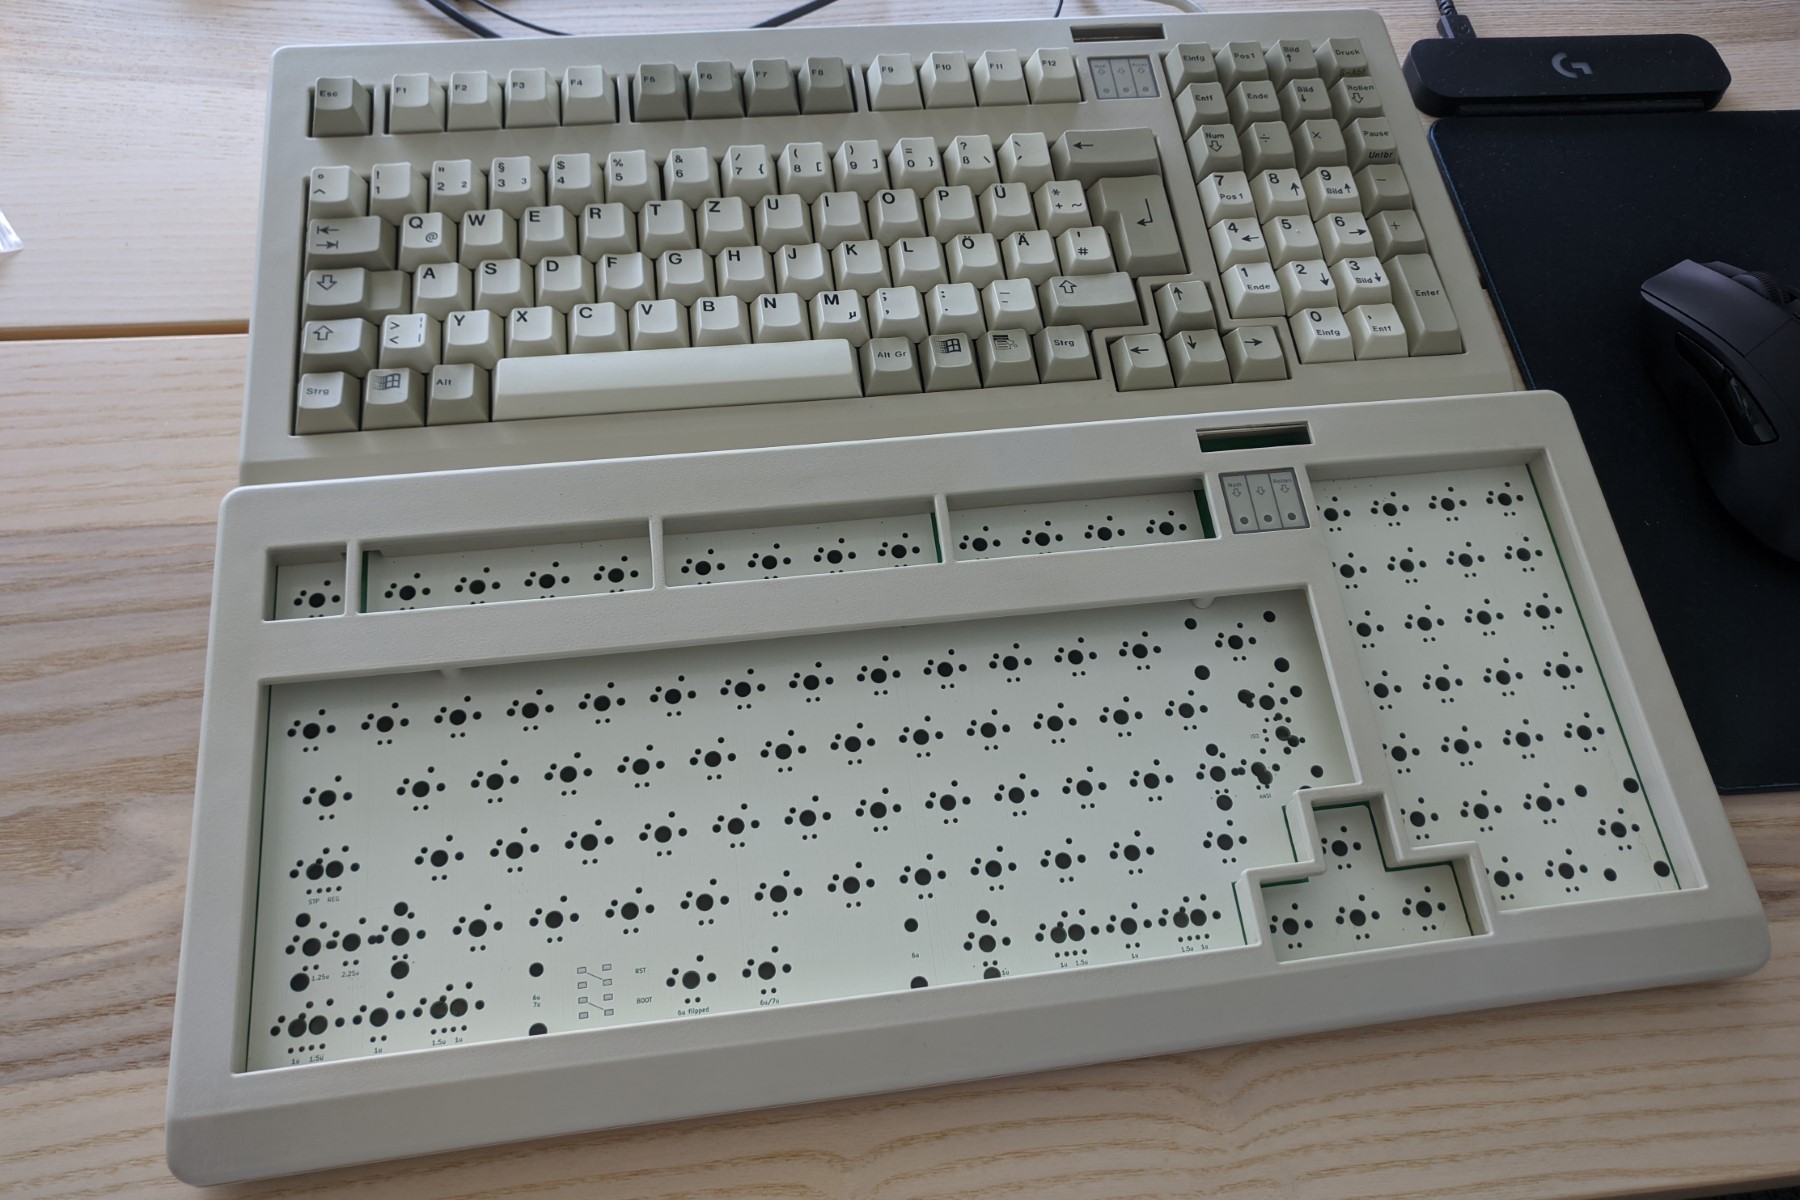
After getting into the custom keyboard scene, I decided that I need a classic "retro" board. Shortly after, I happened to come across an excellent offer for a bunch of Cherry G80-1800 with German ISO layout. After unpacking it, it looked kinda awful. Dirt, dust, and some spots of an unidentifiable rubbery substance. Nothing a good bath with denture cleaning tabs (that stuff is amazing!) and a thorough scrubbing could not handle, though. After a few days out on the balcony in the sun, the yellowish tint was gone, too, and I was looking at a set of case and keycaps which looked almost factory-new. The cleaned case in the third picture and the dirty case are the two keyboards in the bottom right on the first picture. Oddly, contrary to common believe, sun does actually bleach yellowed plastics (and surprisingly fast, too). It appears that sunlight filtered by windows (and therefore lacking the high-energy UV spectrum) yellows plastics, while unfiltered sunlight does the opposite. Very convenient way to make old electronics pretty again without using any chemicals.
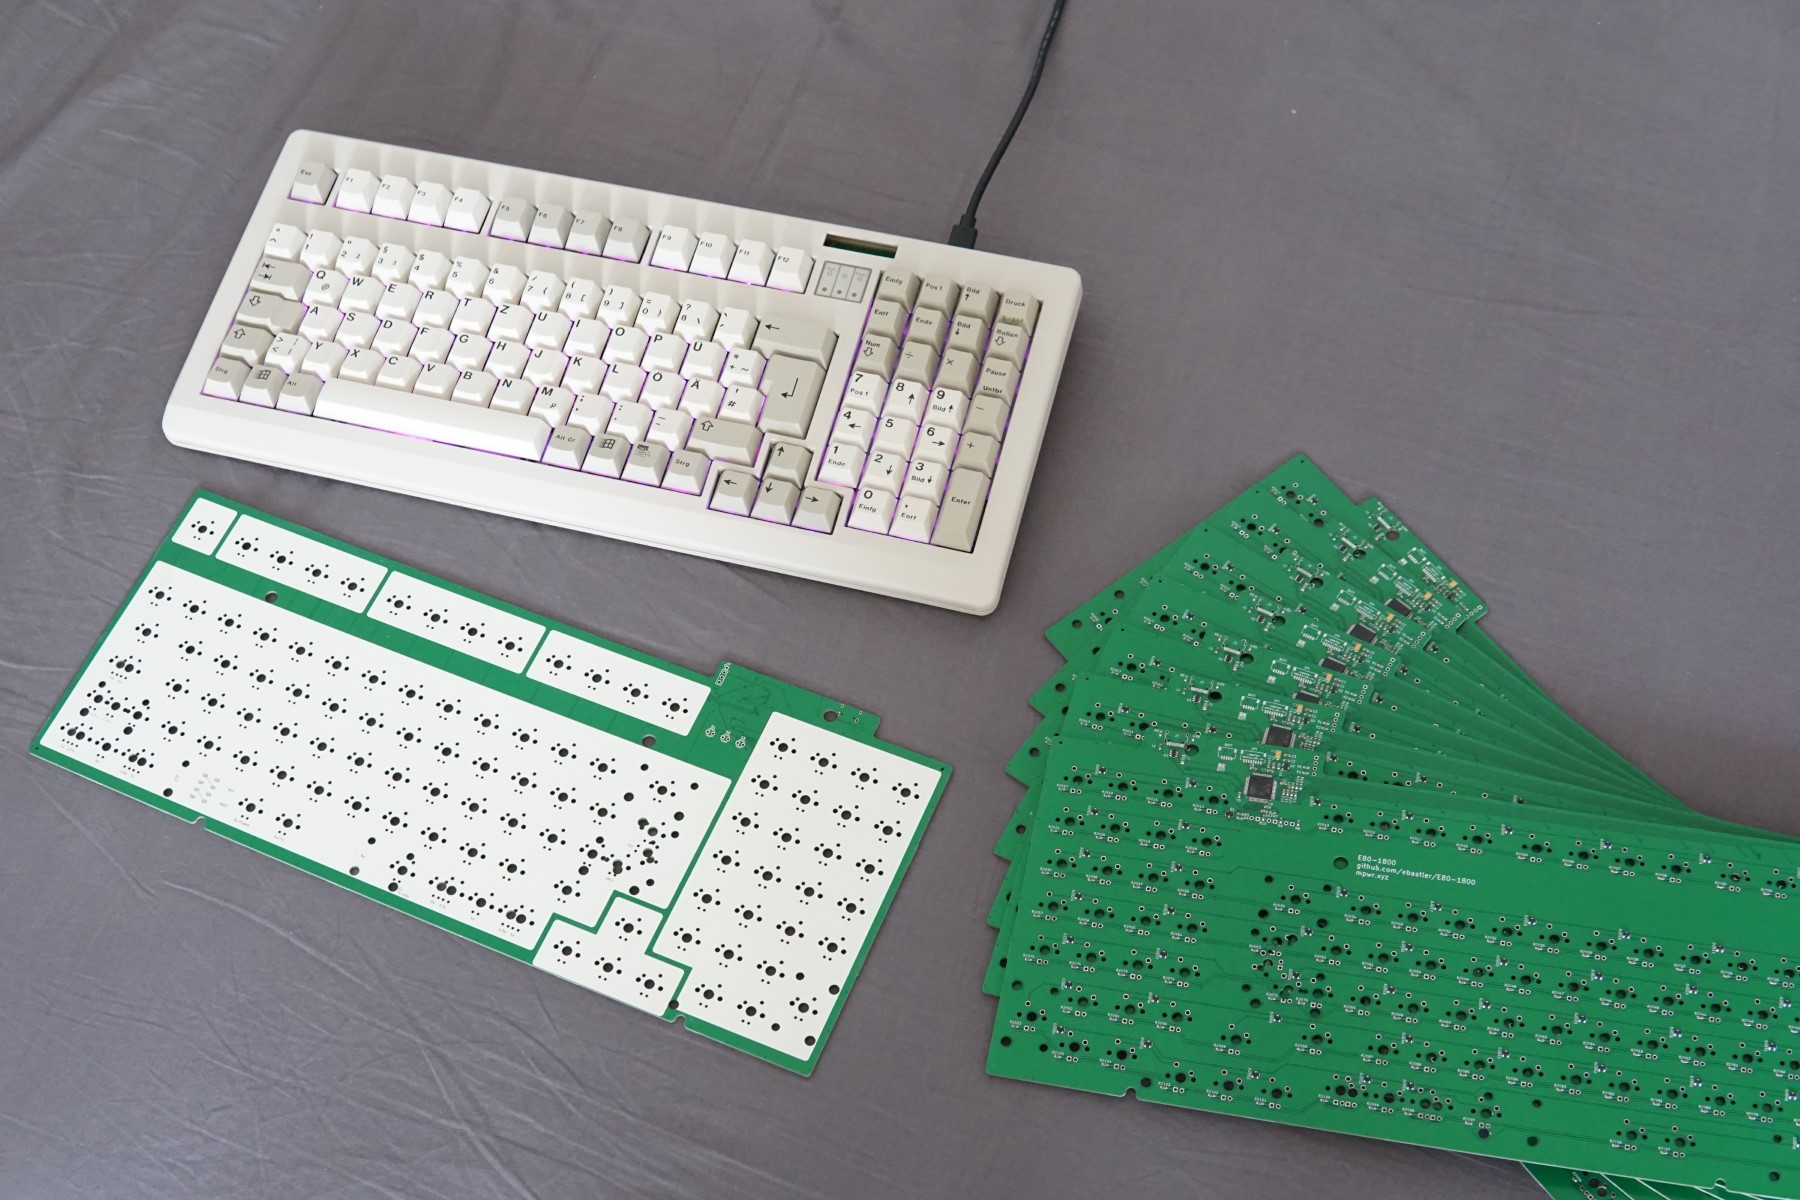
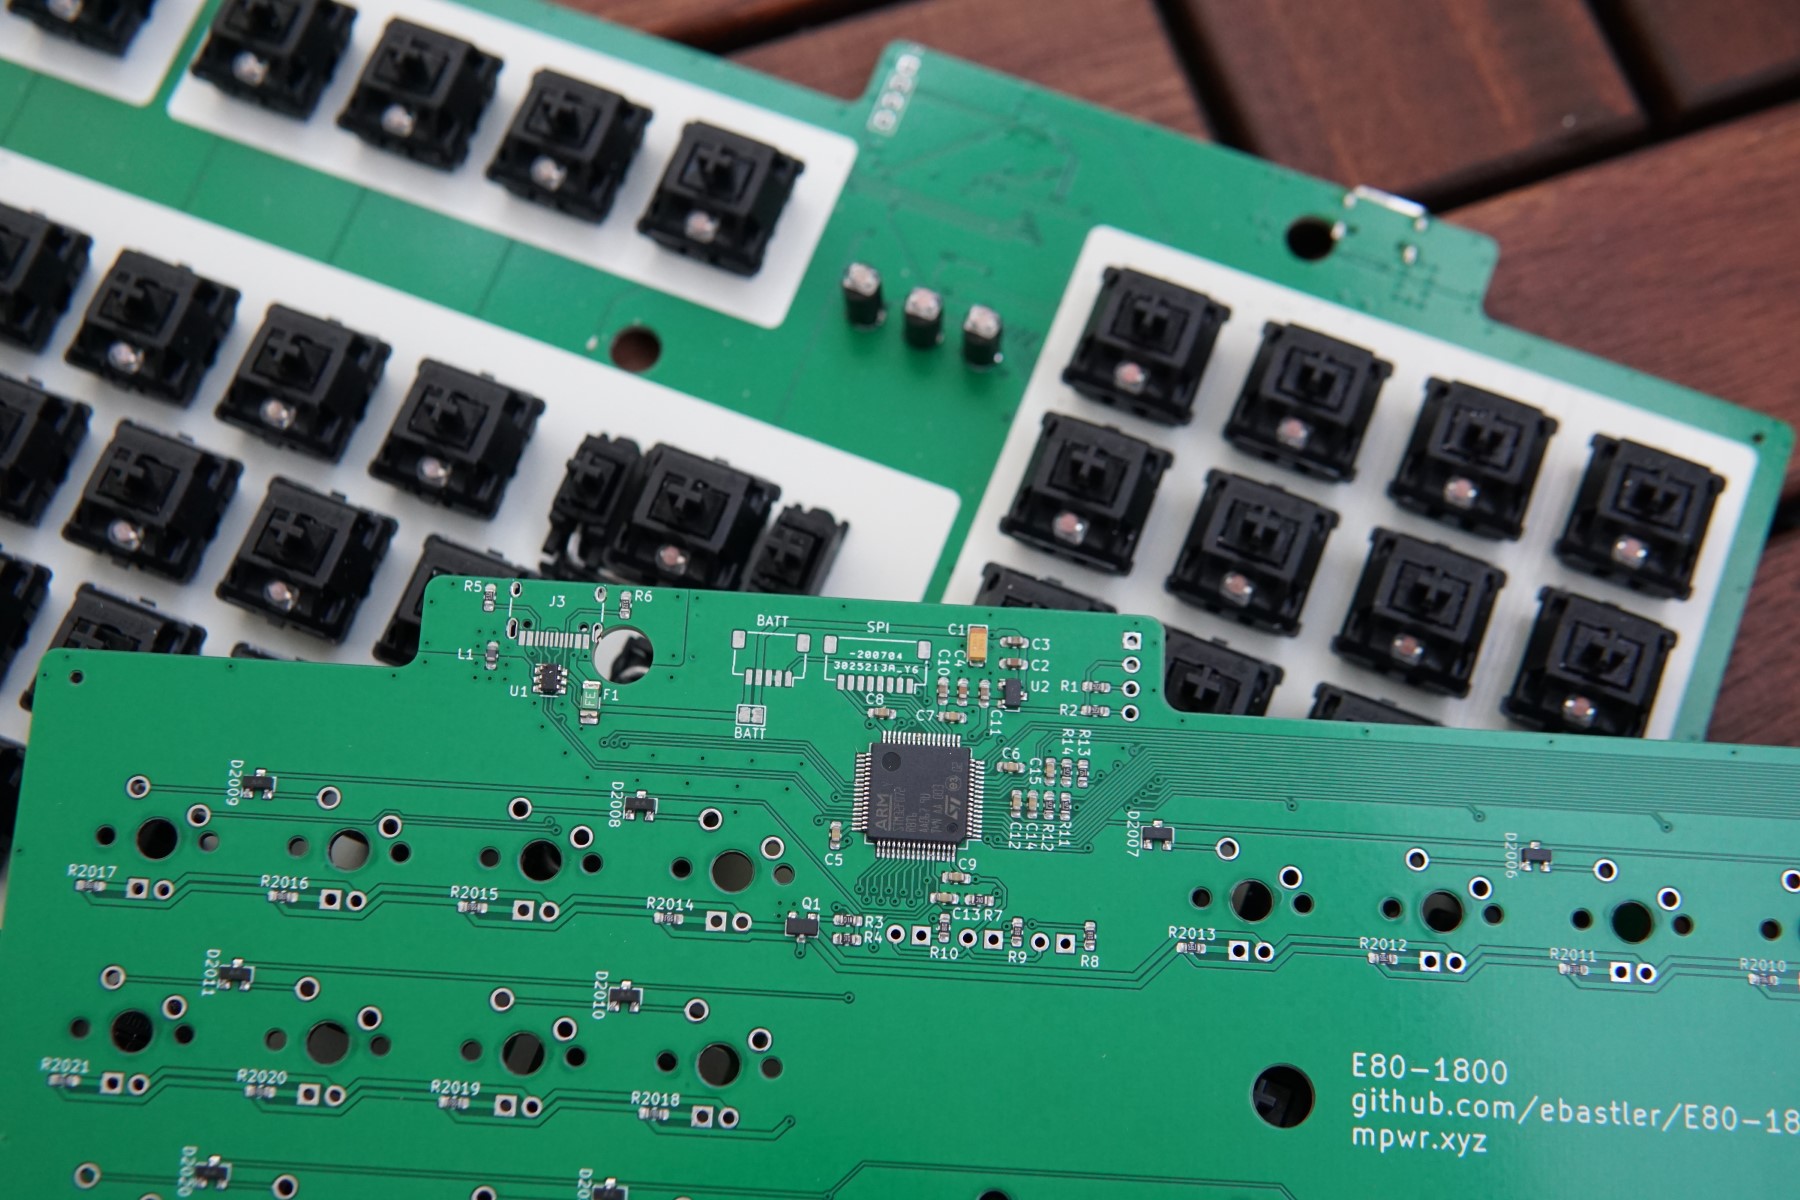
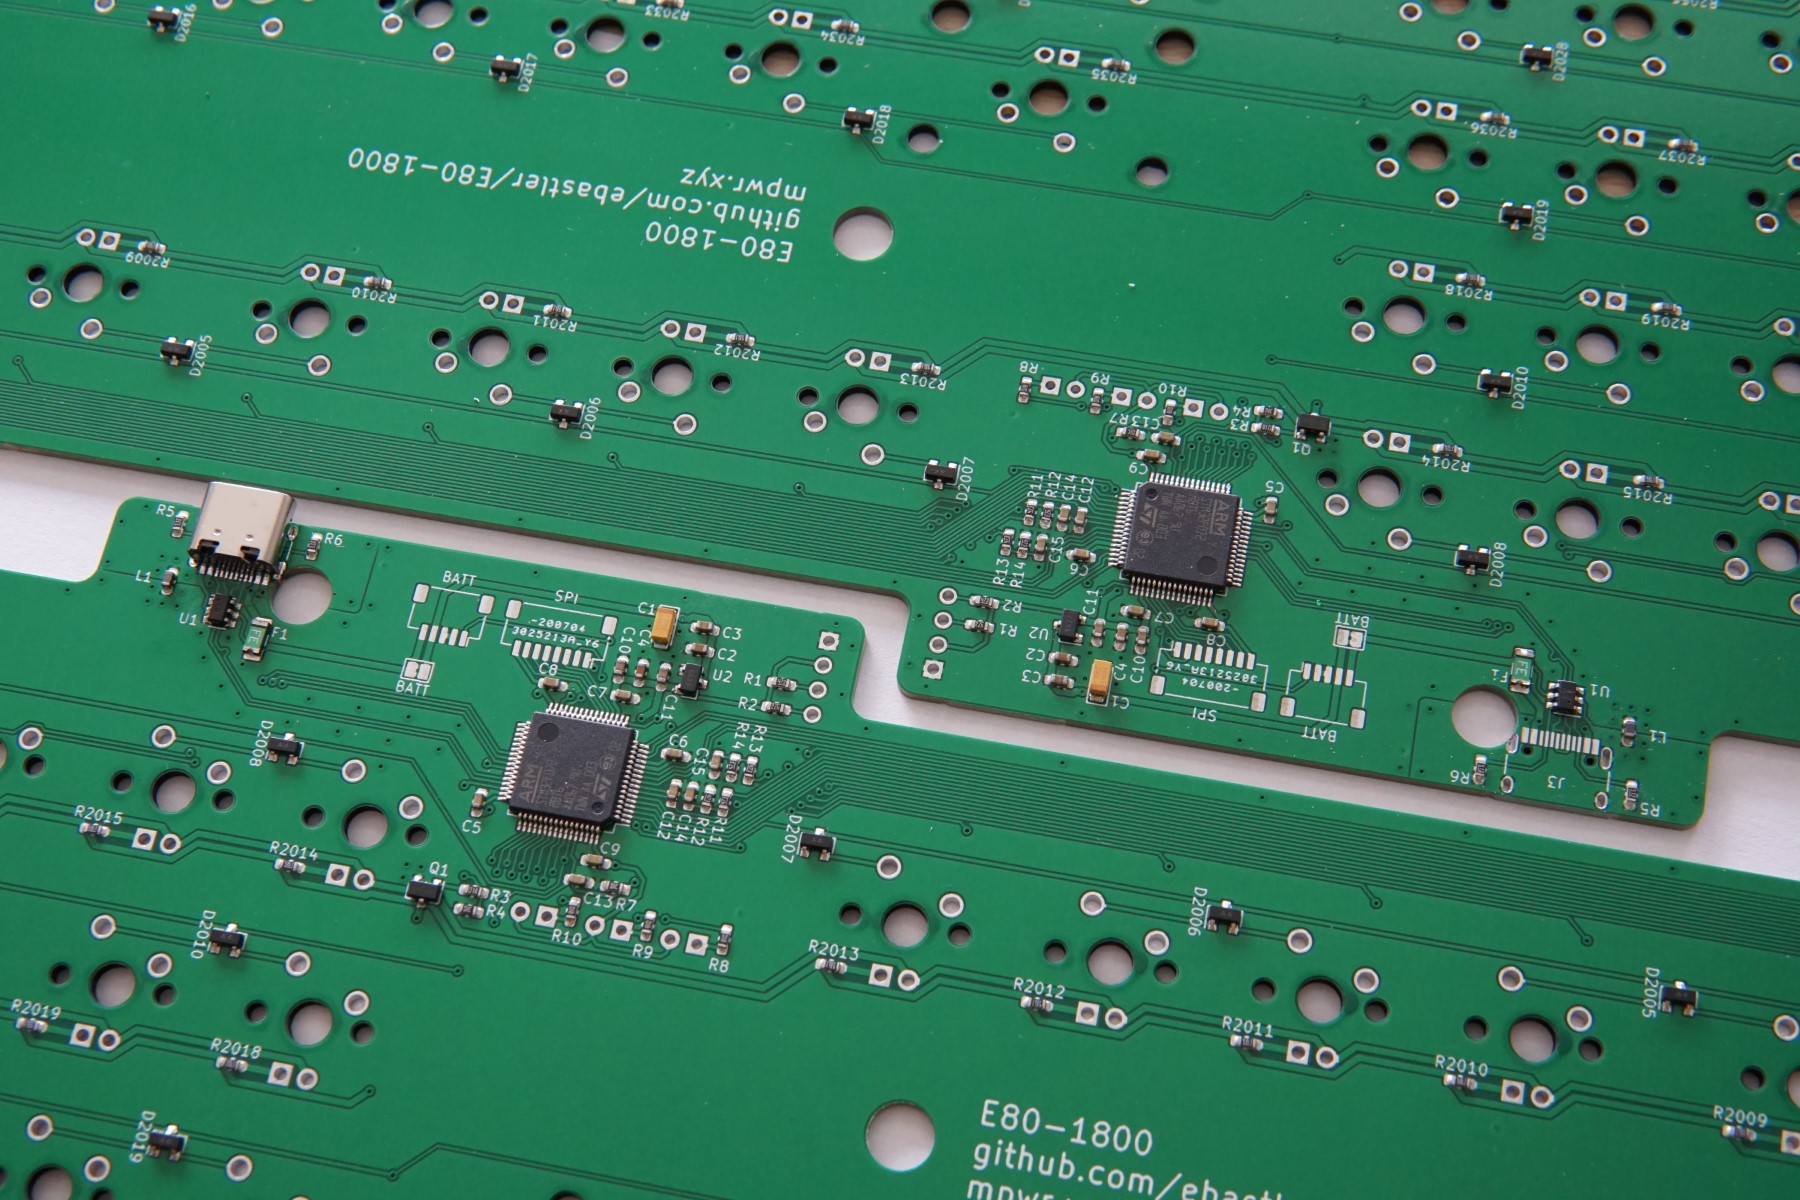
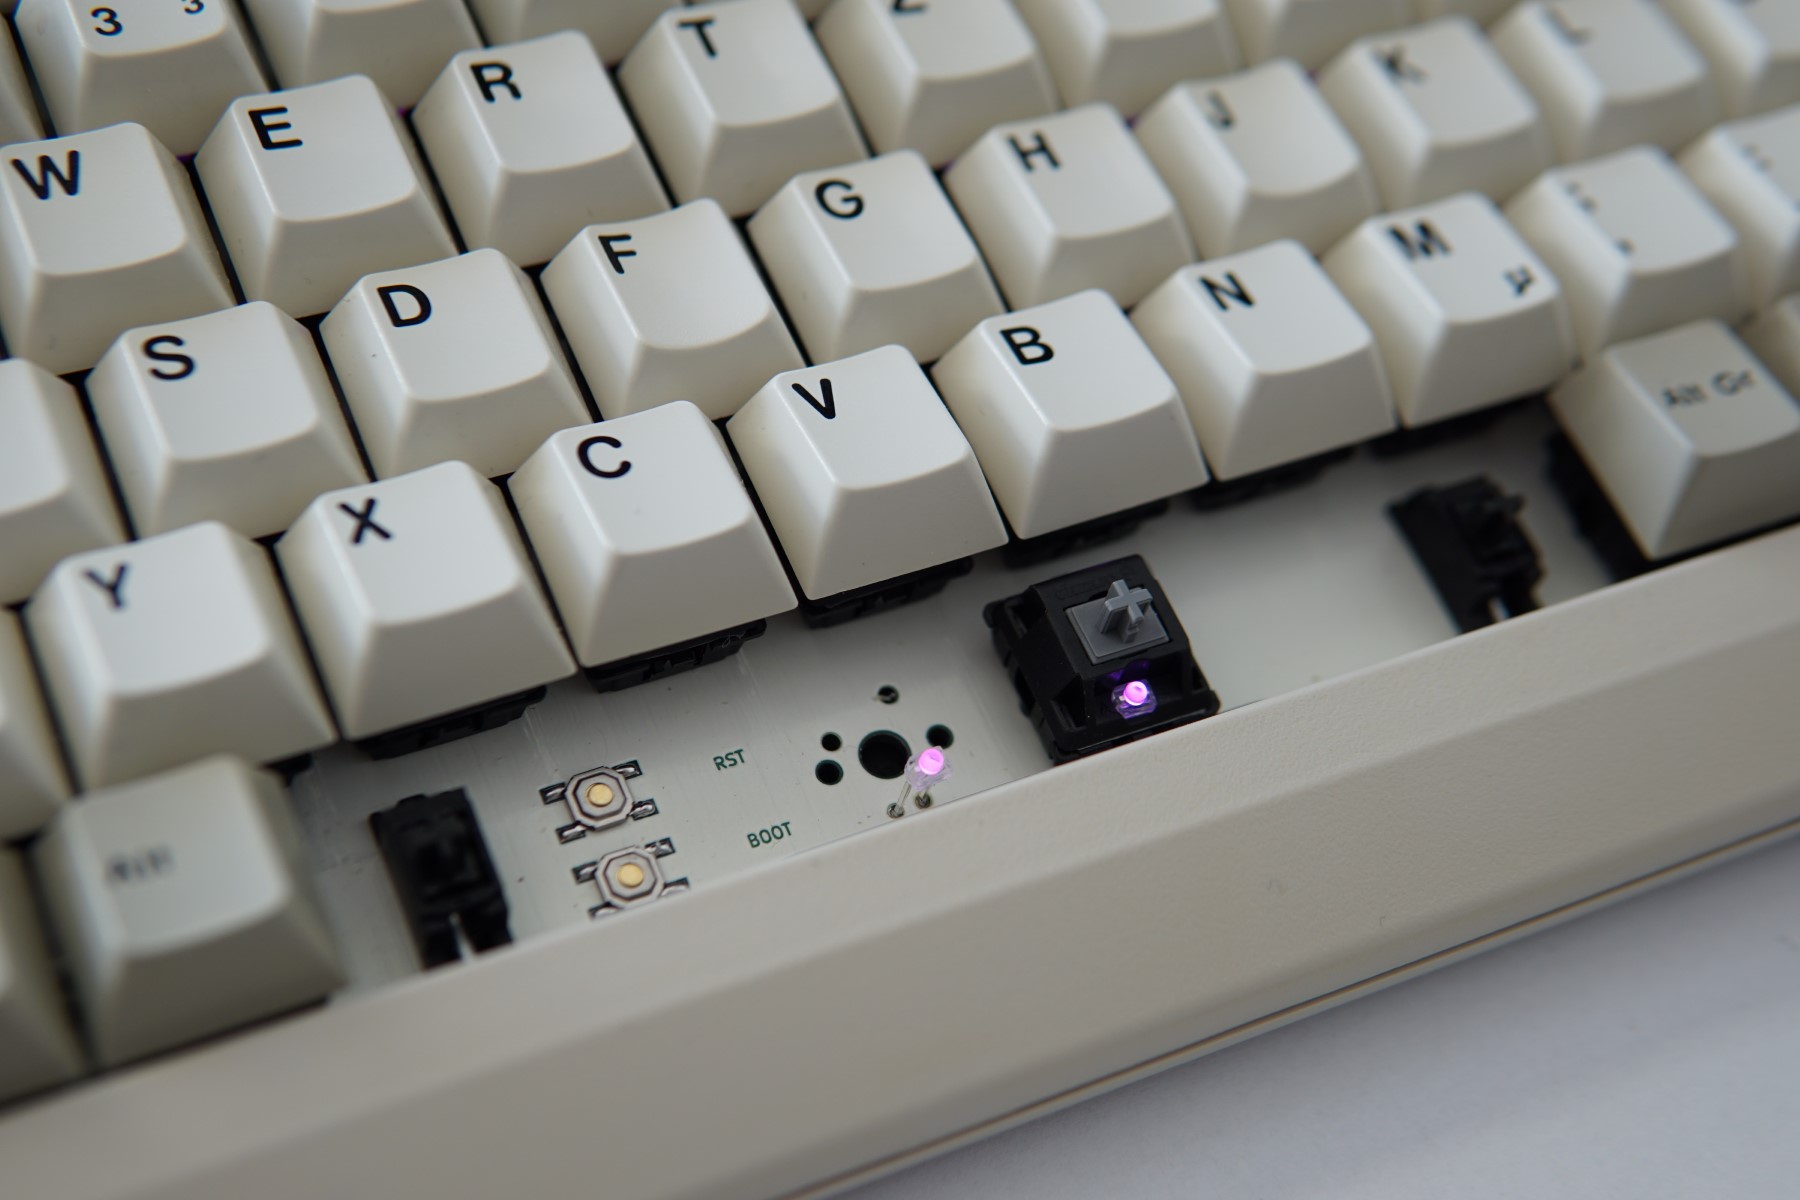
I then proceeded to design my own replacement PCB for the board. It features an STM32F072 chip with native USB, a USB Type-C connector and backlight. An I²C connector allows for an OLED screen to be mounted in the card reader hole on card-reader-equipped models. Once QMK launches Bluetooth support on ARM chips, a 5 pin connector can be used to connect an additional battery management daughterboard (positioned where the original design had the logicboard) and a 8 pin header with SPI can address an SPI Bluetooth module. The white silkscreen on the front was a purely cosmetic choice. JLCPCB (a great and highly affordable PCB manufacturer for prototyping) only assembles green circuit boards, but in a plateless build with backlight, the PCB can be seen between the caps. Adding white solder mask for the whole exposed area resulted in a unique look, as well as a prettier assembled board.
In order to fit the USB-C connector is necessary to widen the original cable hole in one direction. The easiest tool to do so is a file with a round profile. Afterwards the PCB can be seated into the case. On some revisions, one or more posts on the bottom case might have to be snapped off to allow the PCB to fit into the enclosure, but those are not needed for stability anyway.
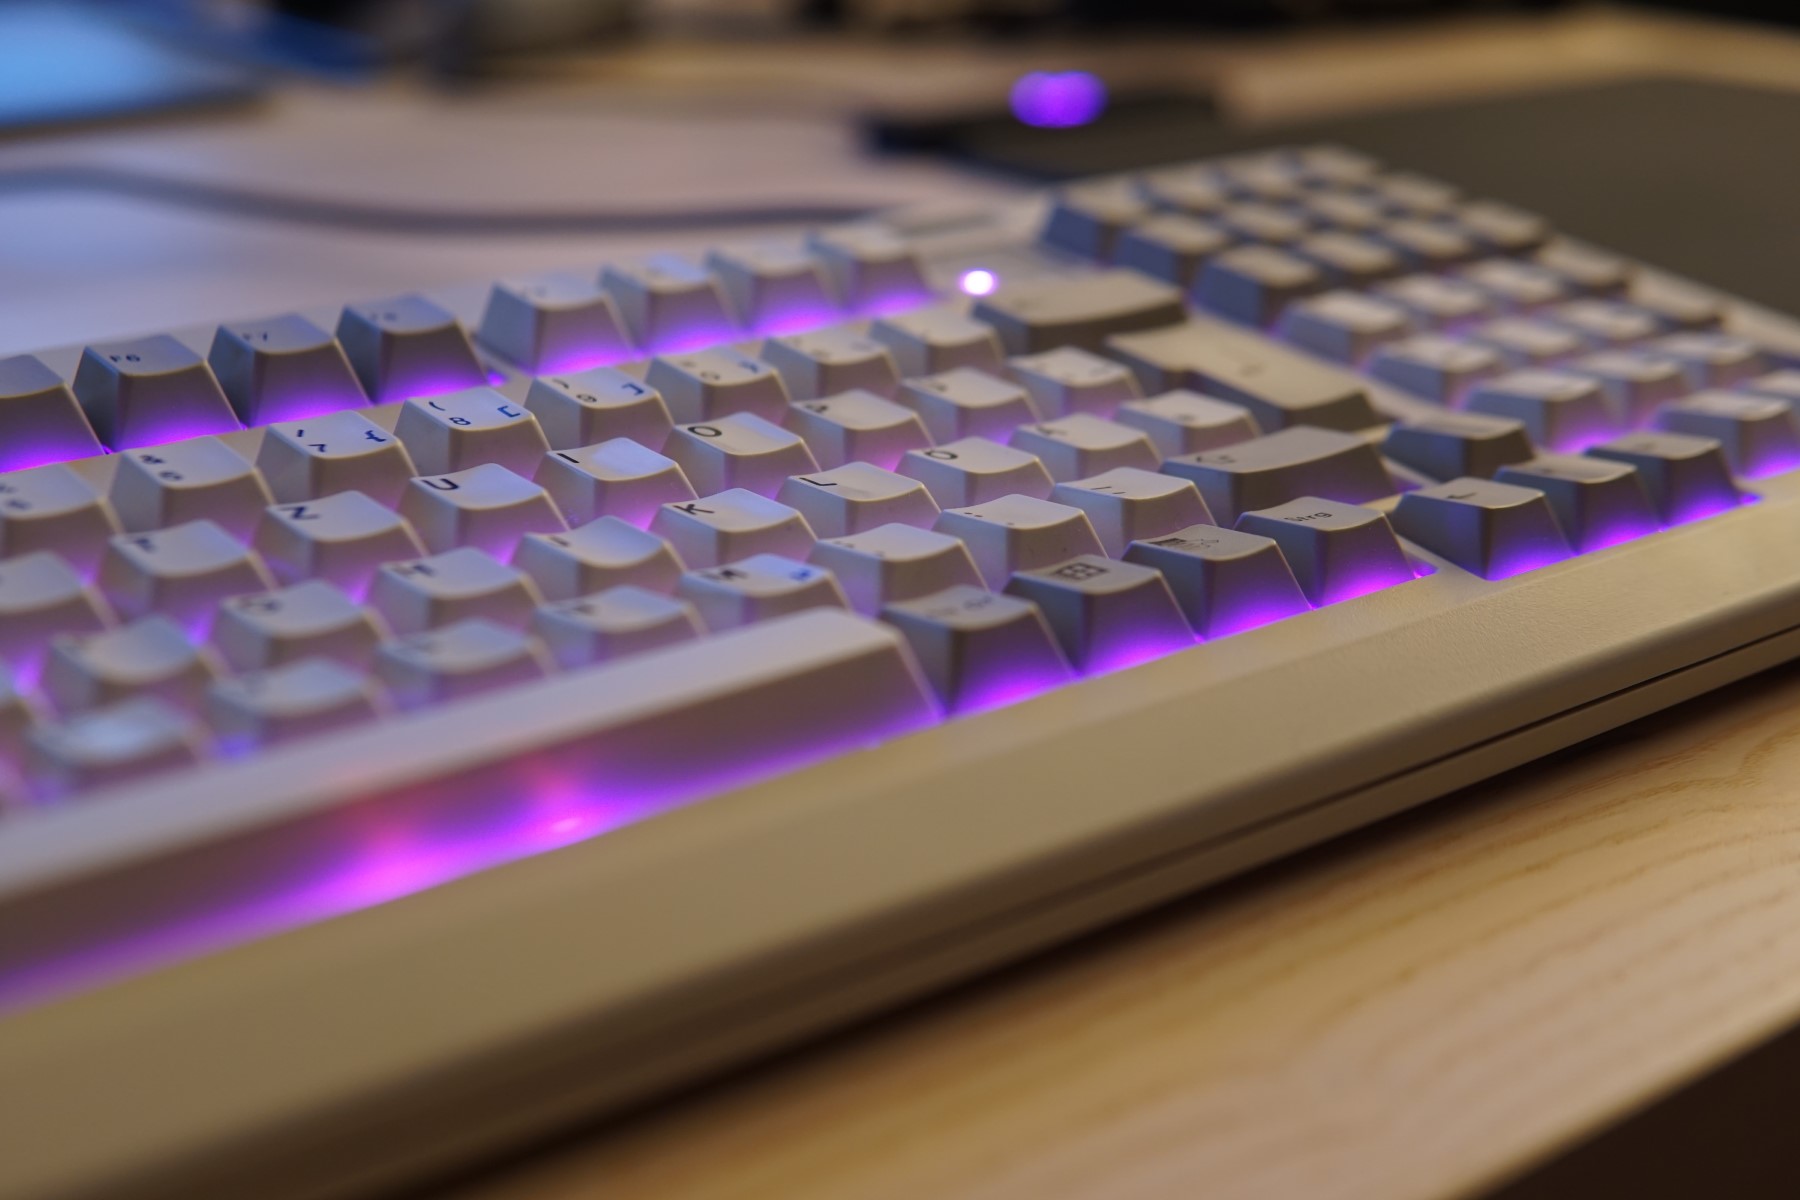
All switches have been lubed with Krytox 205g0 (stems and bottoms) and Krytox 105 (bag-lubed springs), the springs have been replaced with 65 g TX springs since the original black springs with roughly 80 g bottom out weight were too heavy for me. To reduce top wobble, I added 3D printed PLA films with about 0.2 mm thickness. To round it off I added some bright pink 1.8 mm LEDs which offer a great contrast to the oldschool design of the rest of the keeb. All hardware sources can be found in my github repo. The keymap and board-specific parts of QMK are currently not yet merged into the main repository and are only accessible in my fork.