13.03.2019 - Logitech UE9000
I purchased a pair of Logitech UE9000 about two years ago. I did not expect very much, because I had never tried apt-X headphones before and was very surprised. Unlike some other Logitech audio products, the UE9000 had outstanding sound quality. Wired they came close to my pair of Grado MS1i, while the DSP in the Bluetooth receiver sadly added a little bass boost which does not meet my preference. Still, they sounded amazing. After about a year of use, the Bluetooth input decided to stop working. They always behaved as if an audio jack was plugged in and refused to enable Bluetooth.I had no time or motivation to try and get them to work at first, so I tossed the remains in a corner for possible future projects. They had a good apt-X receiver and a nice pair of closed headphone drivers with great sounde quality, after all. You can always need either.
During my exams I had the idea to repair and upgrade them. At this point I already suspected that only the headphone jack was faulty, but the headphones had always been too heavy to be comfy.They sometimes slipped off the head and added some noticeable weight to your head. A quick disassembly showed the culprit - the headband was incredibly heavy. It actually weighed more than my whole pair from Grado I added as a comparison.
I first wanted to purchase a spare headband for some other headphones, but after a quick search gave up. All options were either way too expensive for possibly non working headphones (I did not try to repair the Bluetooth issue yet!) or would have taken a lot of work to adapt. When I helped my grandfather replace some steel wire in the wineyard I had an idea. The wire was very stiff, fairly lightweight and behaved like a spring. The perfect headband, right? But how to hold them in place and how to make it a bit more comfy to wear?
Thats when the 3D printer was put to action. I used Flexismart TPE, very soft and flexible rubber filament, to print some cushions which could be "clicked onto" the steel wire. Then I bent two pieces of wire into shape, replicating the original headband. Below you can see an earlier iteration where I forgot to accomodate the wire, as well as the final version on the printbed. A groove on the inside is supposed to hold the connection cable. Logitech had it folded up in the middle to allow for size adjustments of the headphones. My headband would not be able to do that, but I had to make room for the spare length of wire anyway.
My printing bed was too small to print the whole cuscion at once, so i split it in three parts (I expected having the joint at the top of the head to be a bit uncomfortable). The next step involved finding a way to attach the headband to the earphones. The cups had a completely irregular shape, so designing a fitting 3D peice involved drawing splines on top of photographs as well as a few printed iterations with small changes in between. I wanted to only add a layer of TPE filament in between cup and original cover, which would then hold the wires. This approach Made it a lot easier for me than re-designing the whole earcups or at least the covers would have been. Also, I could keep the stylish glossy covers.
By now I had powered up the removed PCB from the headphones to see if I could find the error and it instantly worked. It seems like a torn ground wire of one of the noise cancelling microphones had shorted the switching contact of the headphone jack, making it seem as if there was a cable connected. I was quite lucky it did not short anything else! The wire had excessive length, so cutting off the torn part was no problem. The drivers are a closed unit together with one ANC microphone per ear, so it would actually have been fairly easy to adapt them into my own enclosures, because the rest of the headphone should not affect their sound at all.
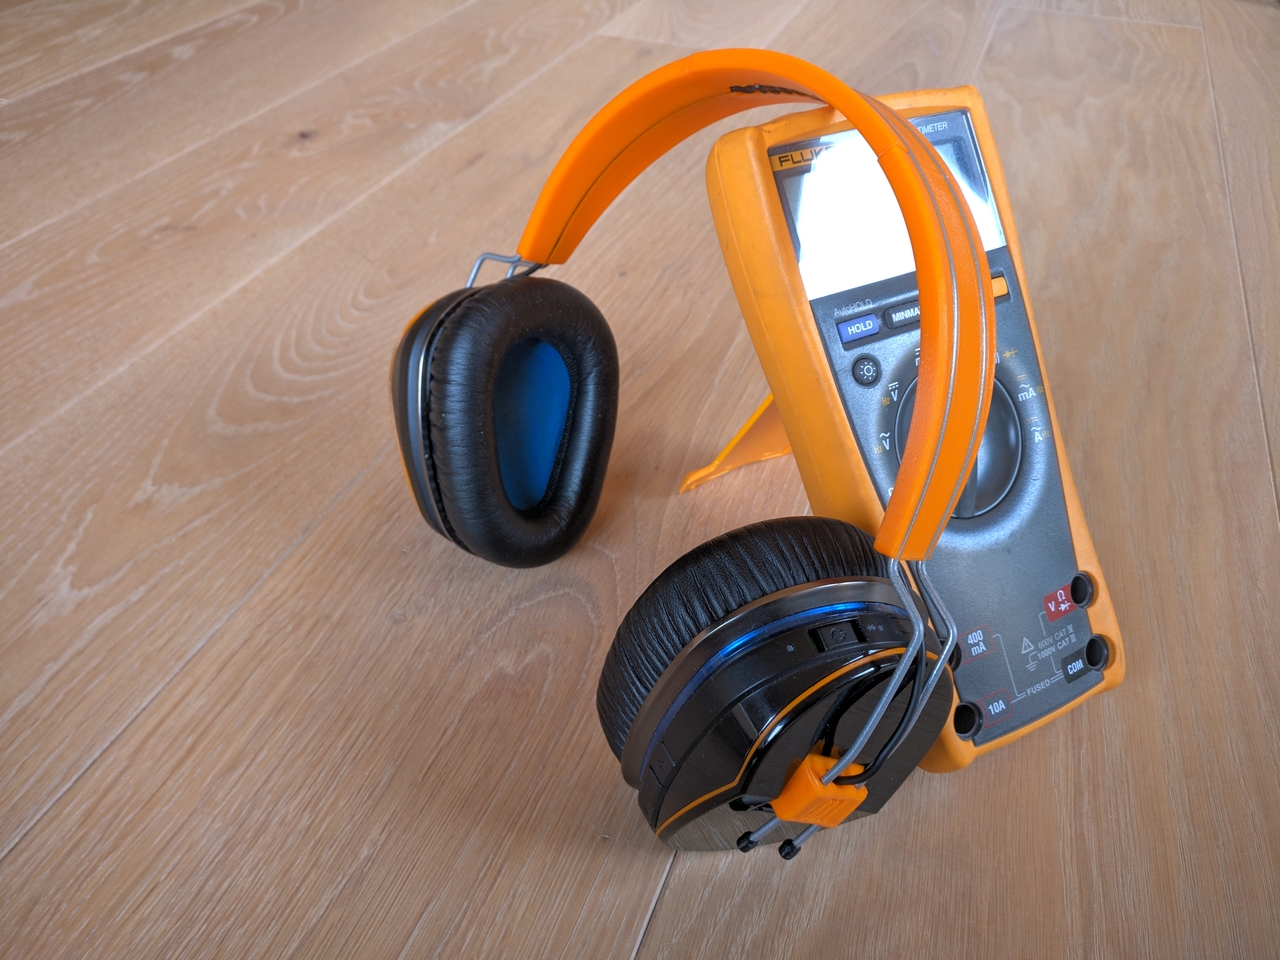
I then went on to re-assemble the headphones with my newly 3D printed parts. Luckily I did not encounter any issues. Once completed, they worked flawlessly. The newly made headband did indeed increase the comfort a lot. They are exerting a little bit more pressure on the head, but I prefer it this way. The wire can easily be bent to adjust the pressure to the personal preference. Interestingly, the thin TPE parts are soft enough to create a headband which is even comfortable to wear for multiple hours in a row. I assumed that I had to cover them with some foam and fabric cushions, but that proved to be unnecessary. My only complaints about the original UE9000 were gone, but not without some cost. The possibility to rotate the earcups allowed for easy transport and storage, while my modified headphones need a lot more space. I am mainly using them at home, though, so this is not really an issue for me.